Conference Room (ECS 3316)
The CS Department's conference room, located in ECS 3316, is equipped for presentations, meetings, and remote collaboration, featuring Zoom Room capabilities.
Display Screen Sharing (Non-Zoom)
Instructions for sharing your screen to the BenQ displays using InstaShare or Chrome Casting.
Available Boards
Conference North (Instashare2-8a12): To the left when facing away from the sink.Conference South (Instashare2-fb7c): To the right when facing away from the sink.
Sharing Screen using a Laptop
-
Connect to the board's Wi-Fi:
- Network Names:
Conference NorthorConference South The password can be found on the QR sheet next to the displays.
 - Windows: Windows search bar -> Wi-Fi settings -> Show available networks.
- Mac: Wi-Fi icon in the top menu bar -> available networks.
- Network Names:
-
Connect to the board (choose one method):
-
Chrome Web Browser:
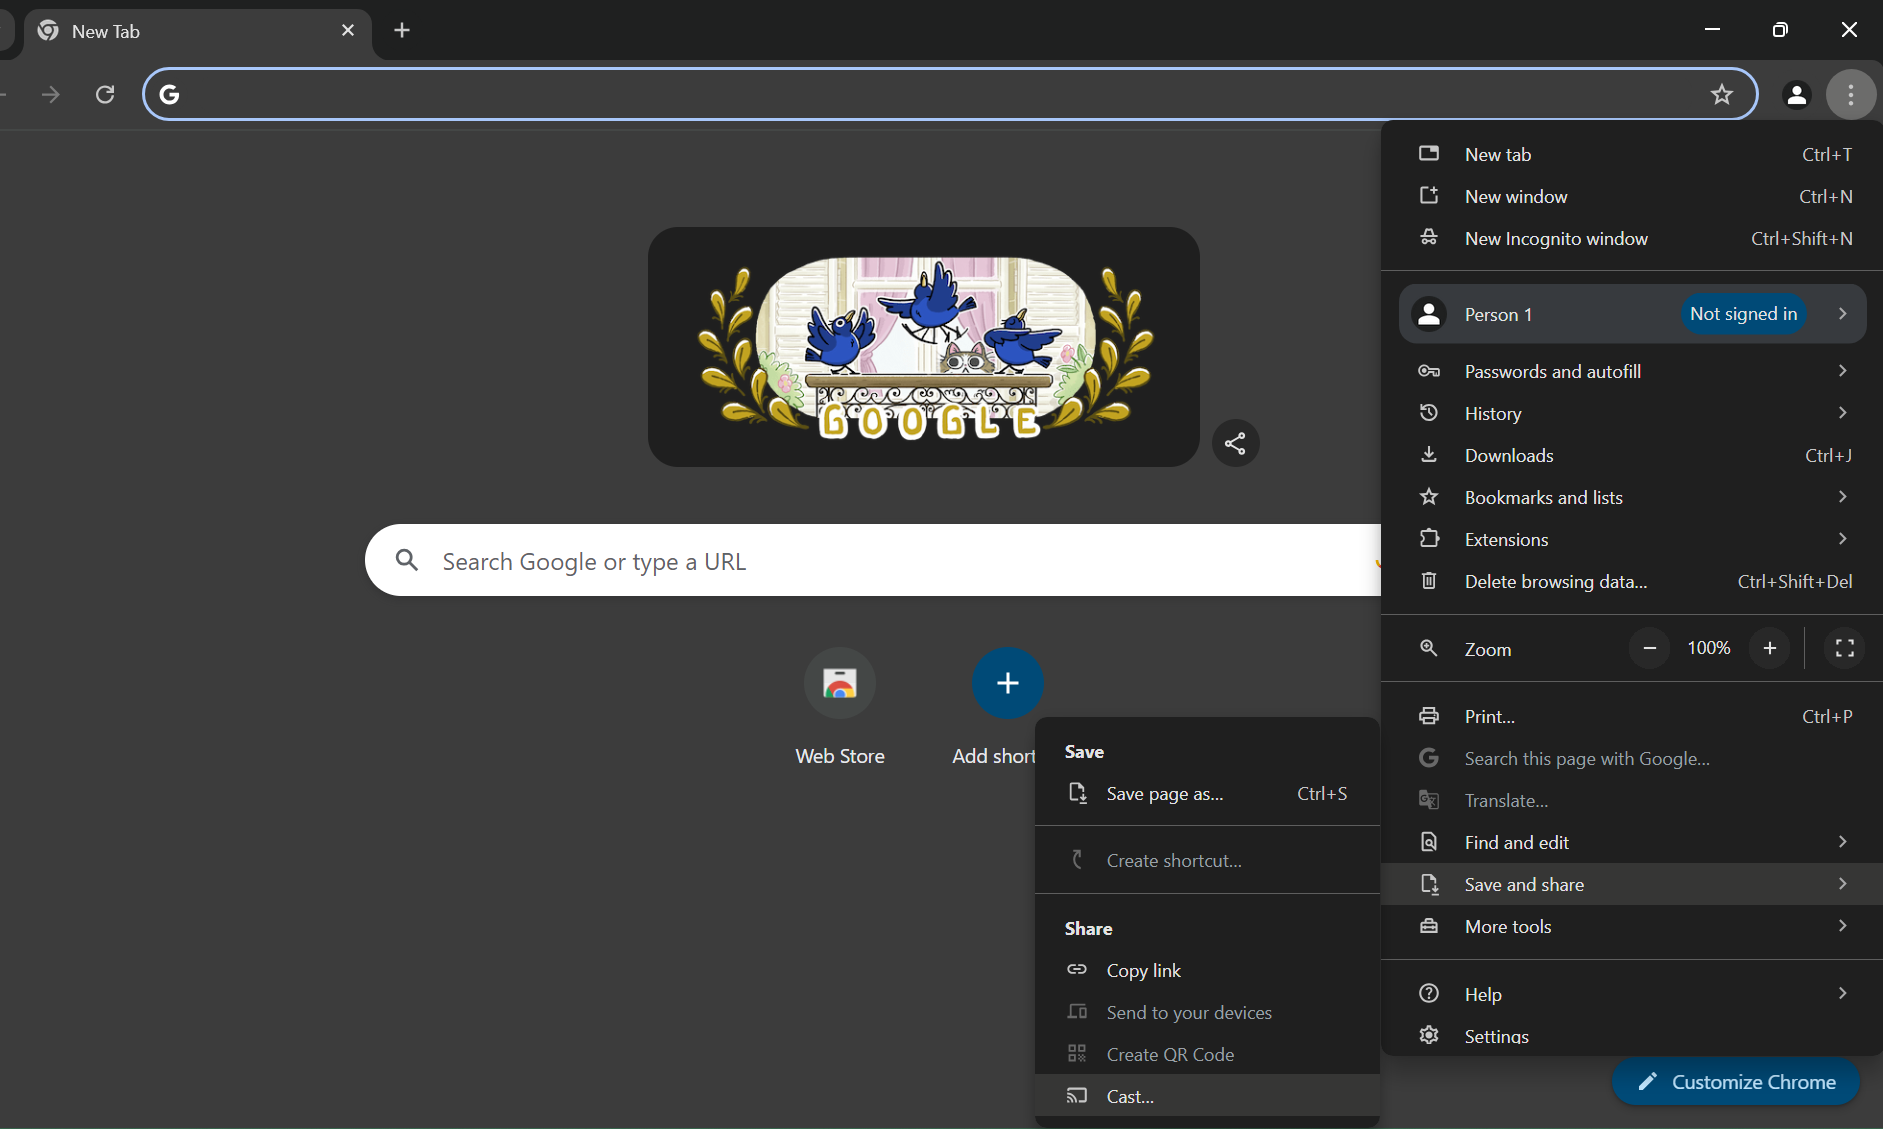
- Open Chrome -> click the three-dot menu (⋮) in the top right -> "Save and share" -> "Cast...".
-
Choose one of the Available Boards.
-
Change the source on the BenQ board to
Cast TaborCast Screen.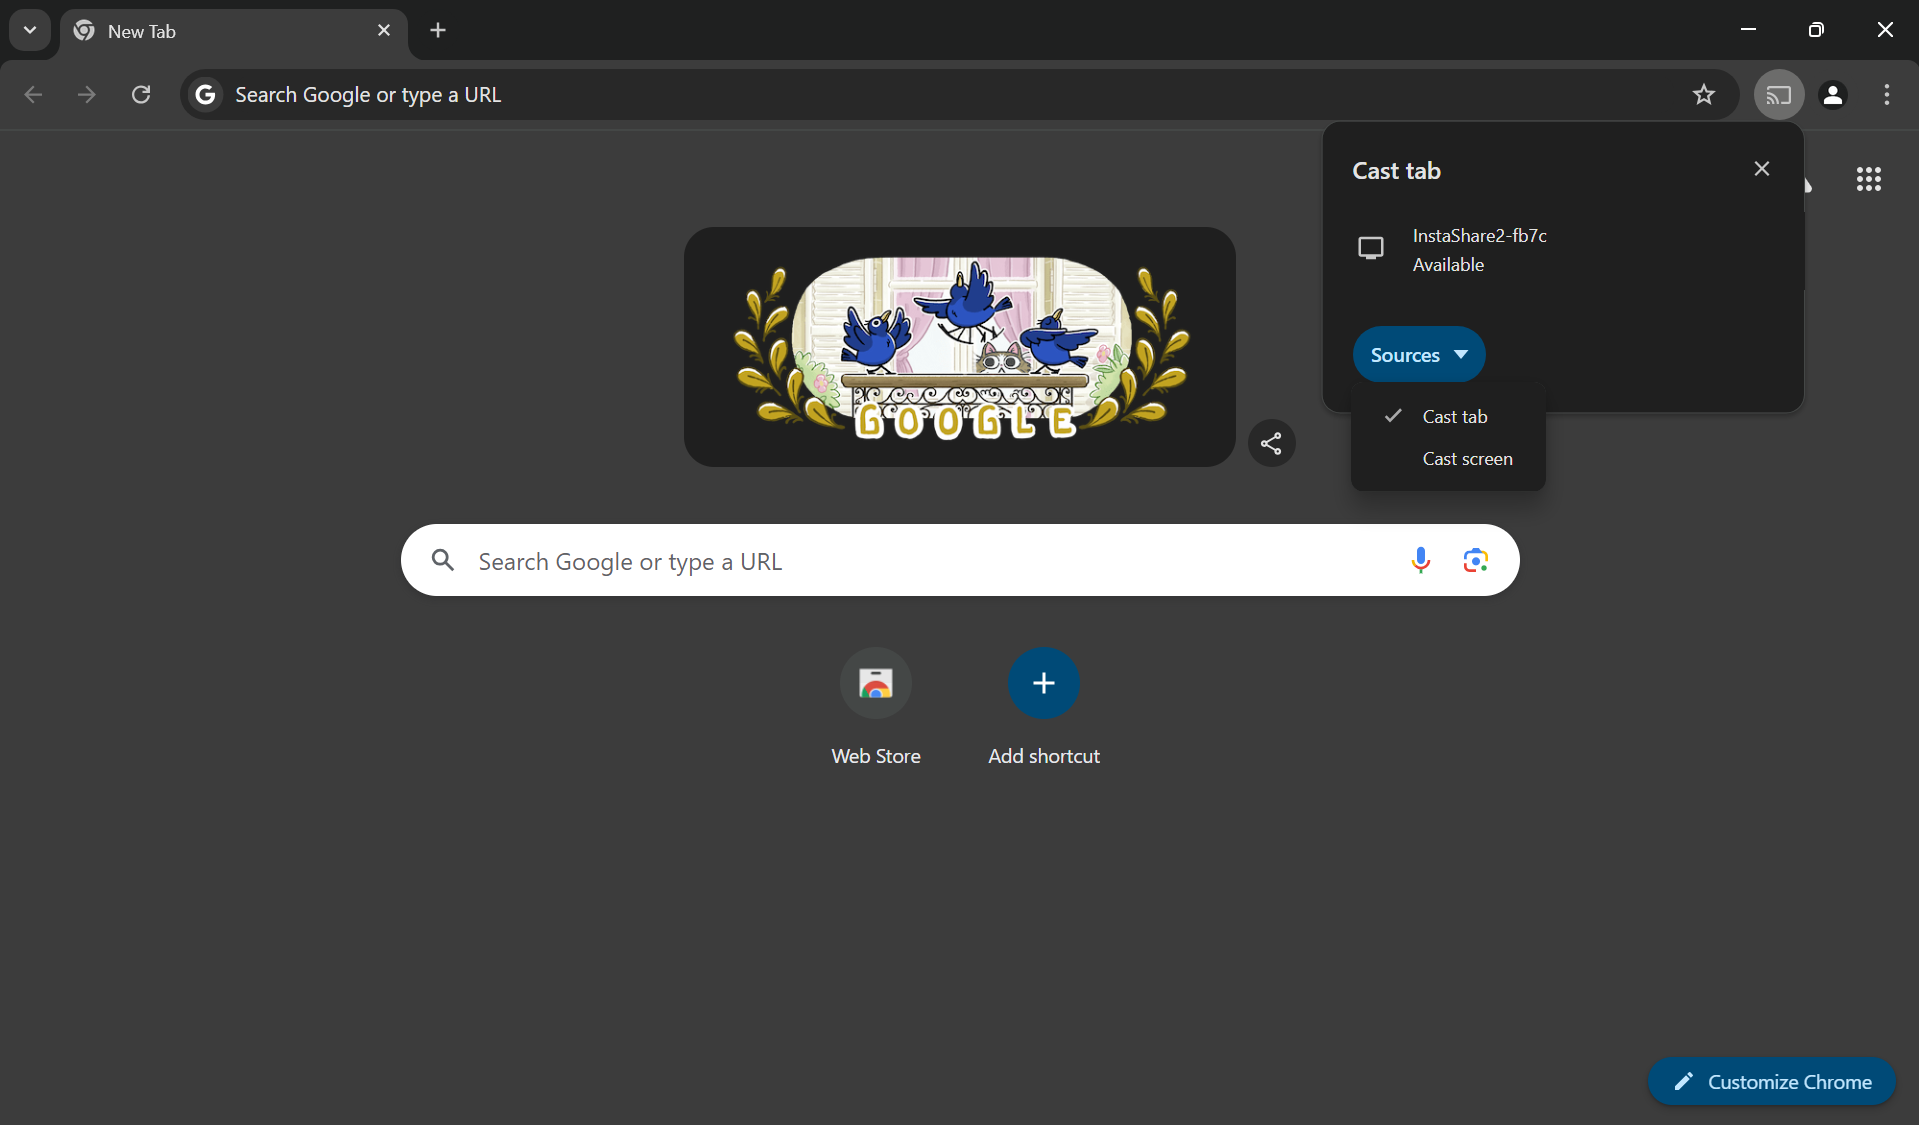
 Note: Before changing the source on the board, stop the cast from your computer.
Note: If you hear an echo, mute the board using the buttons at the bottom right of the board.
Note: Before changing the source on the board, stop the cast from your computer.
Note: If you hear an echo, mute the board using the buttons at the bottom right of the board. -
InstaShare2 App:
- Download the app from BenQ's website .
- Open the app and connect to one of the boards mentioned in step 1.
-
Zoom Room Documentation
The Zoom Room in ECS 3316 allows for high-quality meetings, providing a seamless user interface, a video feed of the entire room, high-quality audio, and a large display for Zoom participants.
Display on North Conference Board
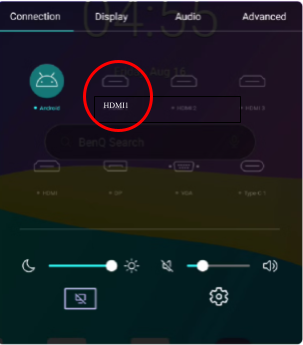
To display Zoom Meetings on the North Conference BenQ Board, ensure the input is set to HDMI 1.
Single Display for Zoom
Unfortunately, due to device limitations, it is not possible to project the Zoom Room across both BenQ boards simultaneously.
-
Press the Settings button (gear symbol) in the lower-right corner of the North BenQ board.
-
Select HDMI 1 as the input source.
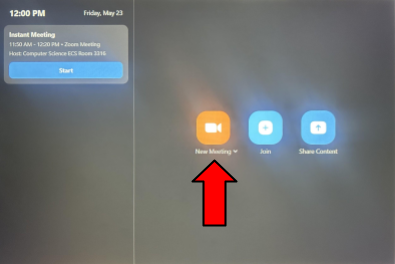
Hosting a Meeting
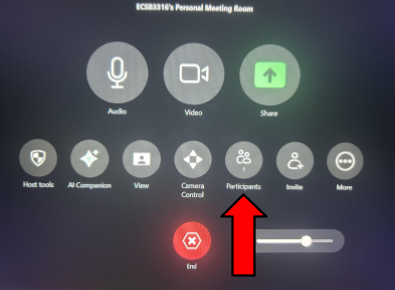
Zoom meetings and features are controlled using the Logitech Tap device.
-
Tap “New Meeting” to begin. The video feed will automatically be displayed on the North Conference Board.
-
Inviting Participants:
-
Participants can join by entering the Meeting ID:
953 345 4632. This ID can be displayed by selecting the green “Share” icon on the Logitech Tap.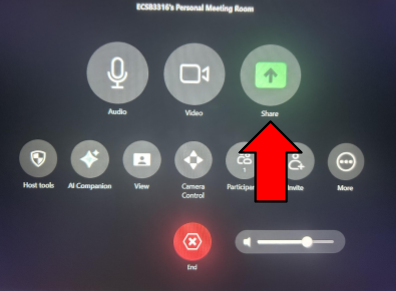
-
Alternatively, invite participants directly by tapping the “Invite” icon. You can select from listed contacts or send a new email. (Separate multiple email addresses with a comma).

-
Joining a Meeting
To join an existing meeting:
-
Tap “Join” on the Logitech Tap.
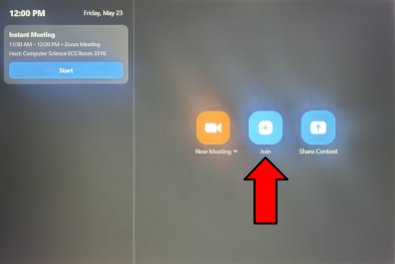
-
Enter the Meeting ID using the on-screen keypad.
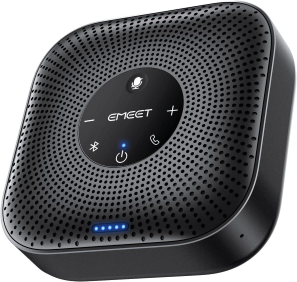
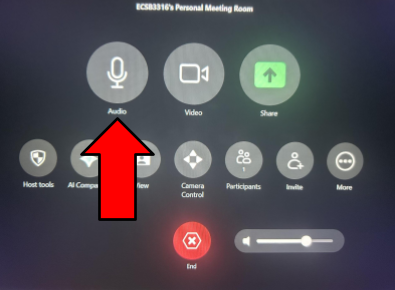
Audio Setup
The EMEET Speakerphone handles both microphone and speaker functions.
-
Mute/Unmute: Tap the "Audio" icon on the Logitech Tap or press the microphone icon on the EMEET Speakerphone.
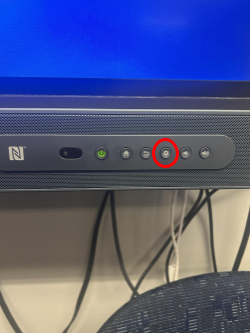
Muted Microphone Indicator
Red lights near the bottom of the EMEET Speakerphone indicate that your microphone is muted.
- Volume Control: Use the volume slider on the Logitech Tap or press the “-” and “+” buttons on the EMEET speakerphone.
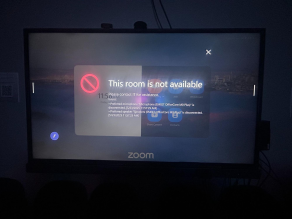
If the EMEET Speakerphone is unplugged, an error will appear. Replug it into the Logitech Tap. If the problem persists, contact root@cs.odu.edu.
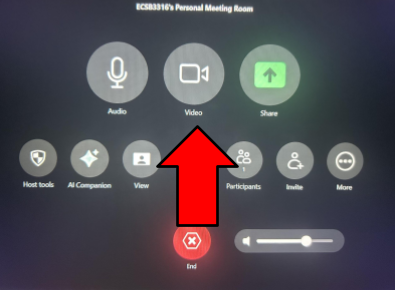
Video Controls
The Logitech 1080p Pro Stream Webcam (mounted above the BenQ board) provides the room's video feed.
-
Toggle Video: Tap the “Video” icon on the Logitech Tap.
-
Change Layout: Tap the “View” icon to change the layout of participant cameras (Speaker, Thumbnail, Gallery, Multi-Speaker).
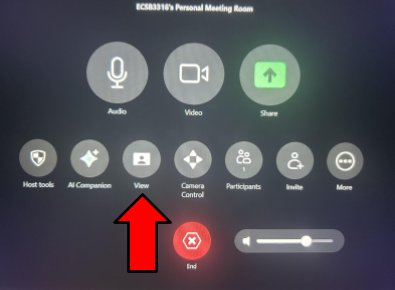

- Speaker: Displays the video of the person currently speaking prominently.
- Thumbnail: Shows the active speaker in the main window, with a small strip of participant thumbnails.
- Gallery: Displays all participants’ cameras equally in a grid layout.
- Multi-Speaker: Dynamically highlights active speakers while keeping others visible.
Managing Participants
As Host, you can manage participants:
-
Tap “Participants” on the Logitech Tap.
-
Select a participant.
- Scroll to adjust permissions or remove them. To kick a participant, scroll to the bottom and select "Remove."
Screen Sharing
Enable Screen Sharing
See the “Host Tools” section to enable screen sharing for participants if it's disabled.
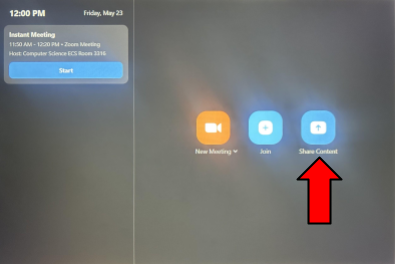
You can share your screen in a Zoom meeting through various methods. To share content without starting a full meeting, tap the “Share Content” icon on the Logitech Tap.
During a Meeting:
-
HDMI Sharing:
-
Tap “Share” on the Logitech Tap.
-
Connect your device via the HDMI cable connected to the Logitech Tap.
- Select the option under “Use HDMI”.
-
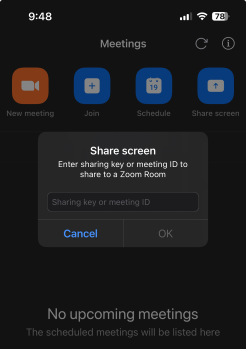
Sharing Key (Zoom App):
-
Tap “Share”.
- Note the alphabetical code next to “Sharing Key” under “Use the Zoom App”.
-
Enter this key in your Zoom App to share your device’s screen.
-
-
Web Browser Sharing:
- Tap “Share”.
- Under “Use Browser”, note the link
share.zoom.usand the numerical code next to “Meeting ID”. -
Visit
share.zoom.usin your web browser and enter the Meeting ID.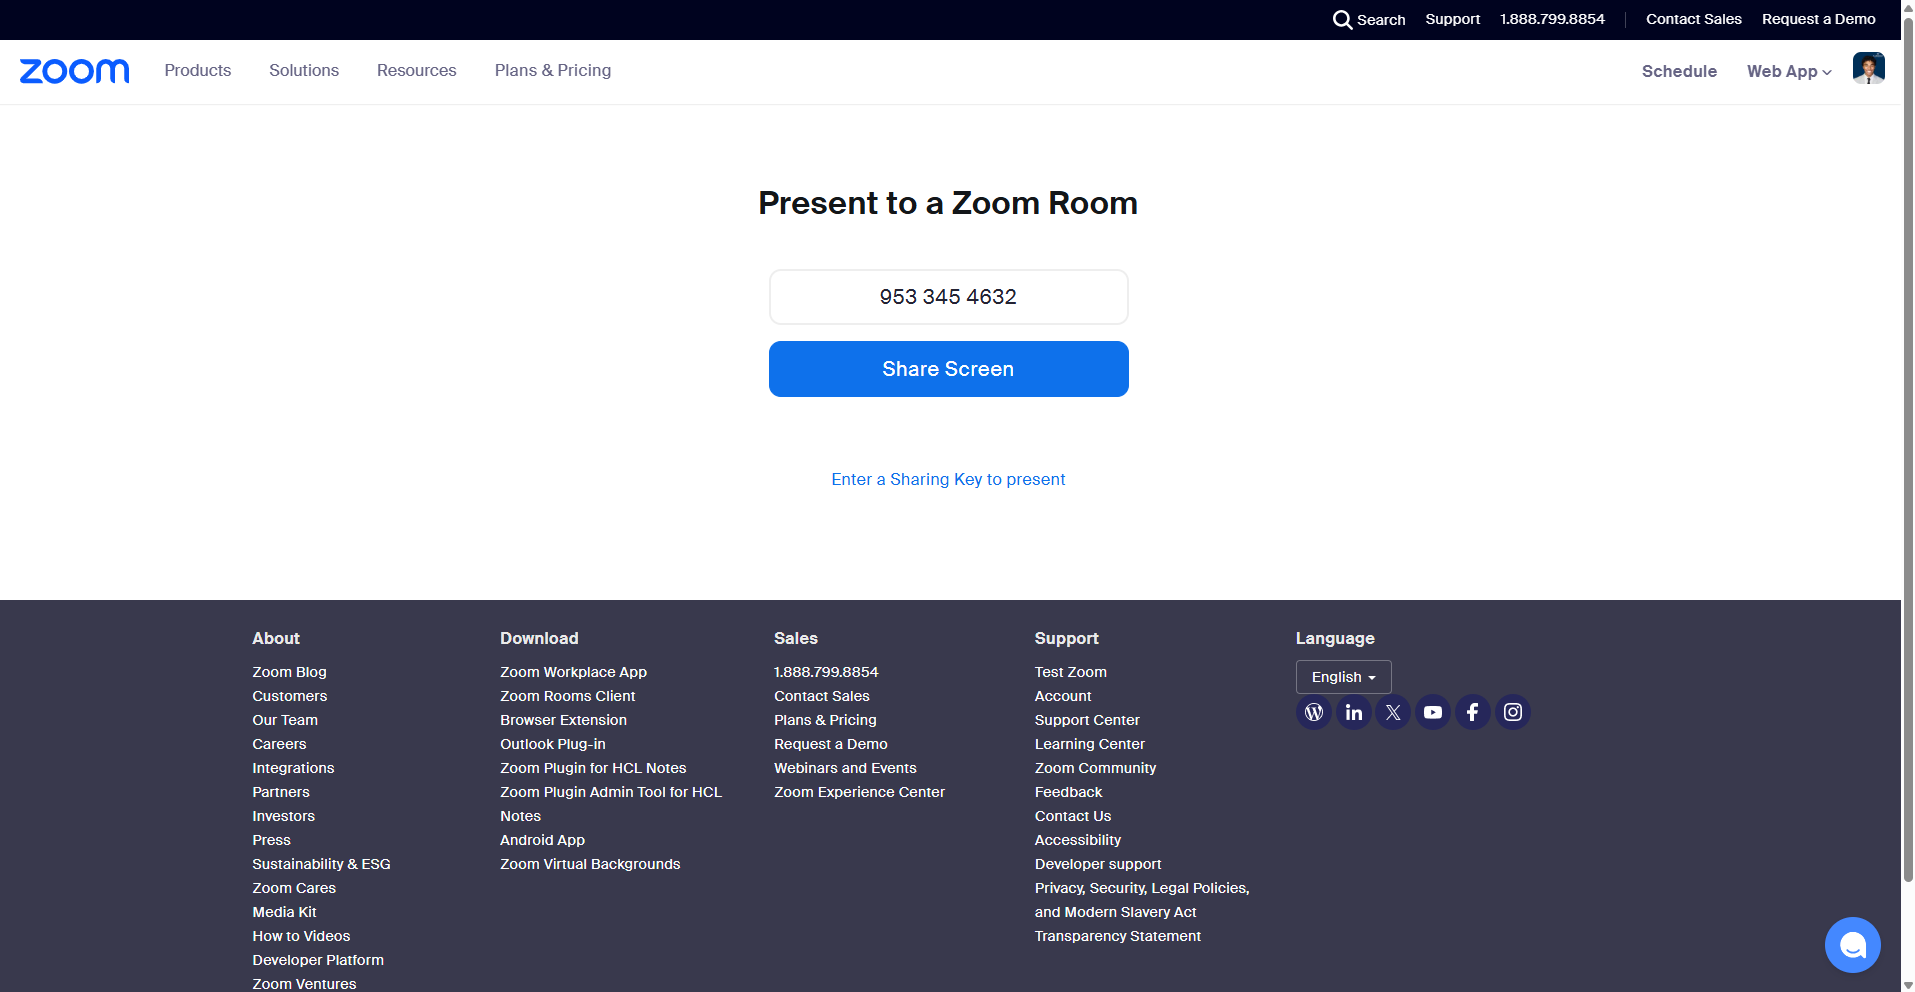
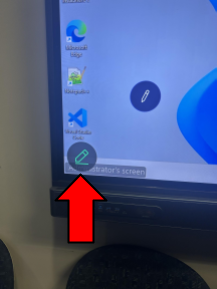
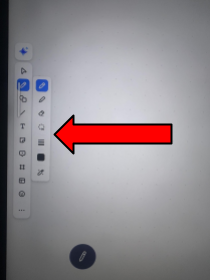
Annotations (During Screen Sharing)
While screen sharing content to the BenQ board:
-
Tap the BenQ Board display; a green pencil icon will appear in the bottom left corner. Tap it.
-
Write directly on the board. Participants will see your annotations in real-time.
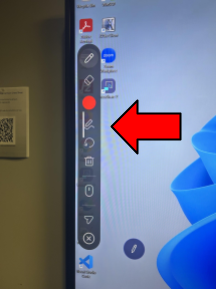
-
Use the pane on the left-hand side to change tools (write, erase, colors, etc.).
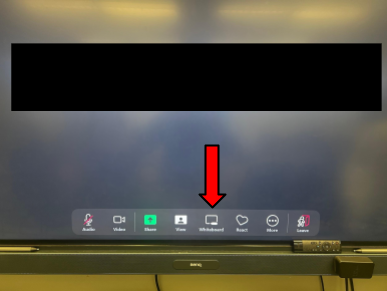
Whiteboard
Use the BenQ board as a touchscreen whiteboard, visible to all participants.
-
During a meeting, on the North Conference BenQ Board, tap the “Whiteboard” icon in the center pane.
-
Write directly on the board.
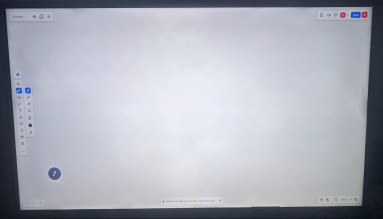
-
Use the panel on the left-hand side for tools.
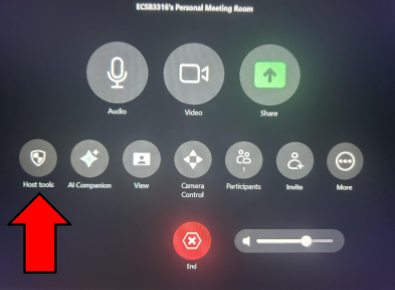
Host Tools
Access additional controls:
-
Tap “Host Tools” on the Logitech Tap.
-
Use the toggles to:
- Allow/disallow screen sharing for participants.
- Enable/disable a waiting room.
- Lock the meeting.
- Manage chat permissions.
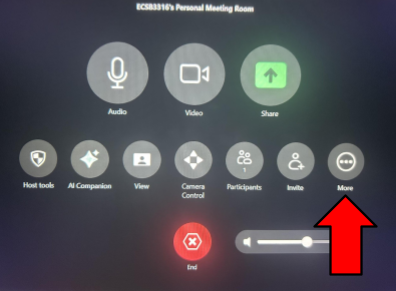
Other Features
-
Chat:
-
Tap “More” > “Chat”.
-
Choose “View and respond to chat messages.”
- In the “Send to:” field, select "Everyone" or a specific participant.
-
-
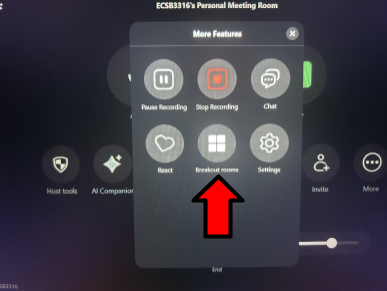
Breakout Rooms:
-
Tap “More” > “Breakout Rooms”.
-
Configure rooms as needed and tap “Create.”
-