GlobalProtect VPN for Windows
What is a VPN?
A VPN (Virtual Private Network) allows you to connect securely to a network (i.e. the ODU CS network) and access private network resources that aren't available outside of the network. When you connect to the CS Department VPN, no matter where you are, it is similar to connecting your computer directly to our wireless Internet.
The following are instructions on how to connect to the CS VPN using GlobalProtect.
GlobalProtect Installation (Windows)
This guide provides instructions for installing the Computer Science Department's GlobalProtect VPN on a Windows computer.
-
Download the GlobalProtect Agent
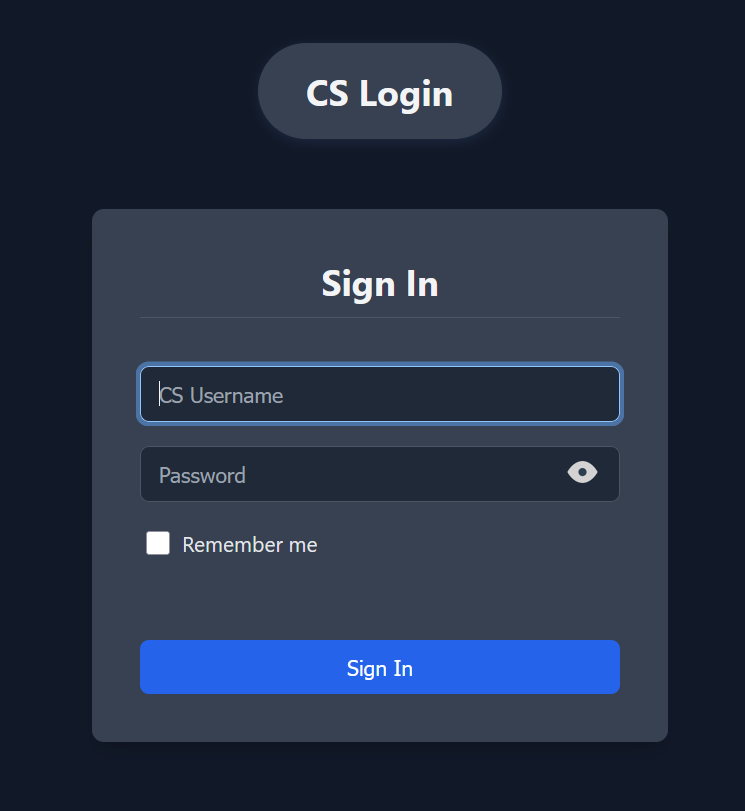
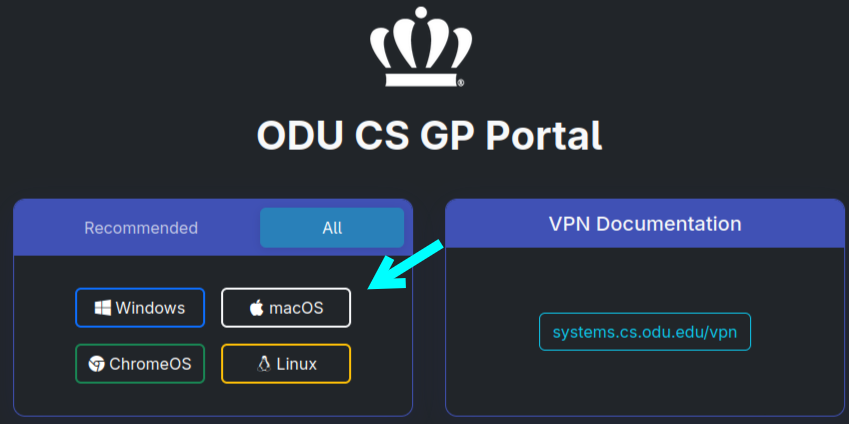
- Navigate to the ODU CS VPN portal: Open a web browser and go to https://vpn.cs.odu.edu .
-
Log in: You will be prompted to enter your ODU CS credentials (CS_username and password).
-
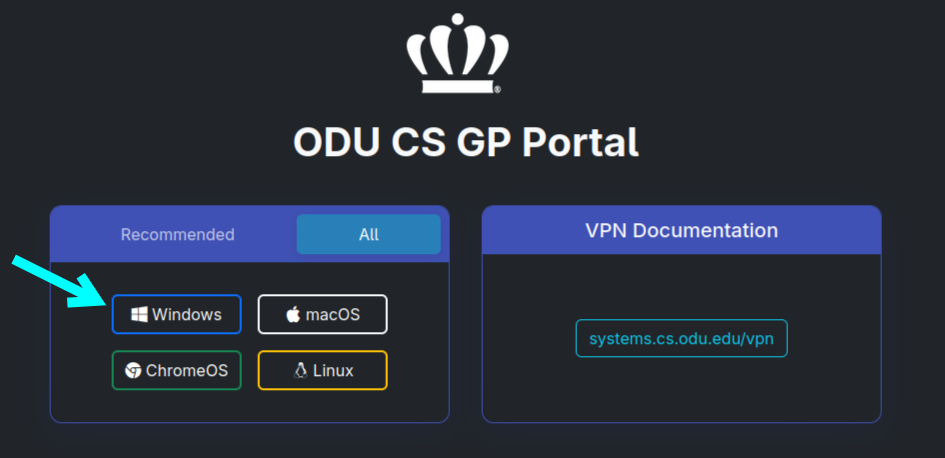
Download the agent: Once logged in, look for a link to download the GlobalProtect agent. Download the version appropriate for your Windows system (typically a 64-bit version if you have a modern computer).
-
Install the GlobalProtect Agent
Once the download is complete, you'll need to install the software.
-
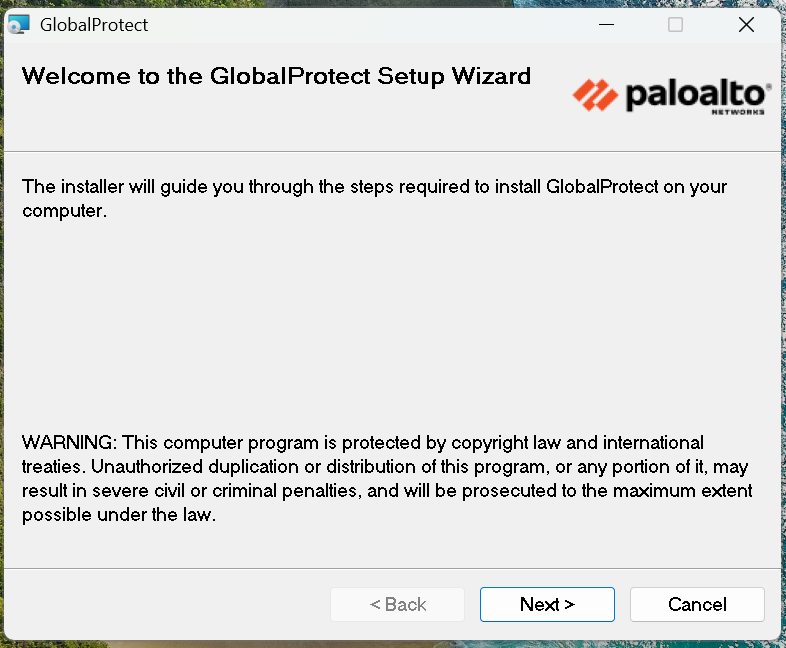
Run the installer: Locate the downloaded MSI file and double-click it to start the installation process.

-
Follow the prompts:
-
Click "Next" on the welcome screen.
-
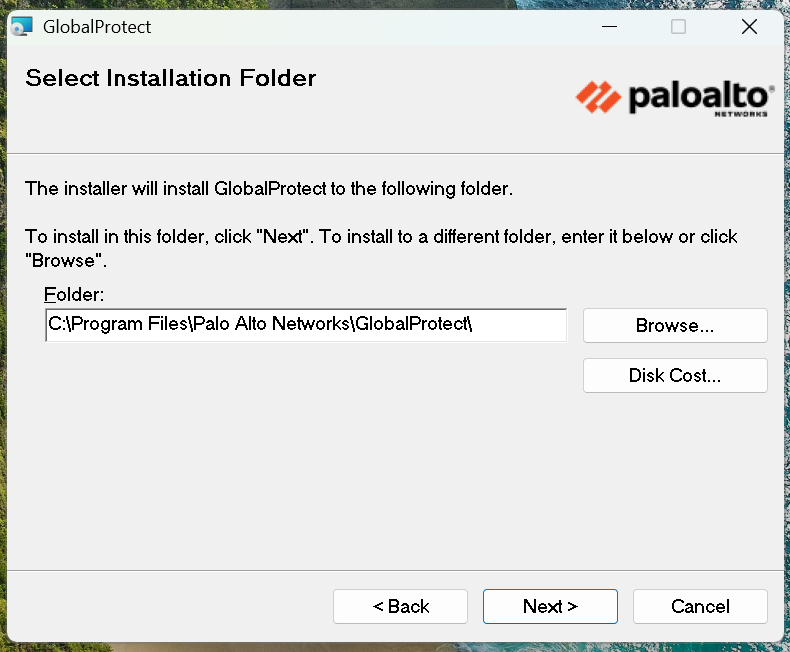
Accept the default installation folder unless you have a specific reason to change it, then click "Next".
-
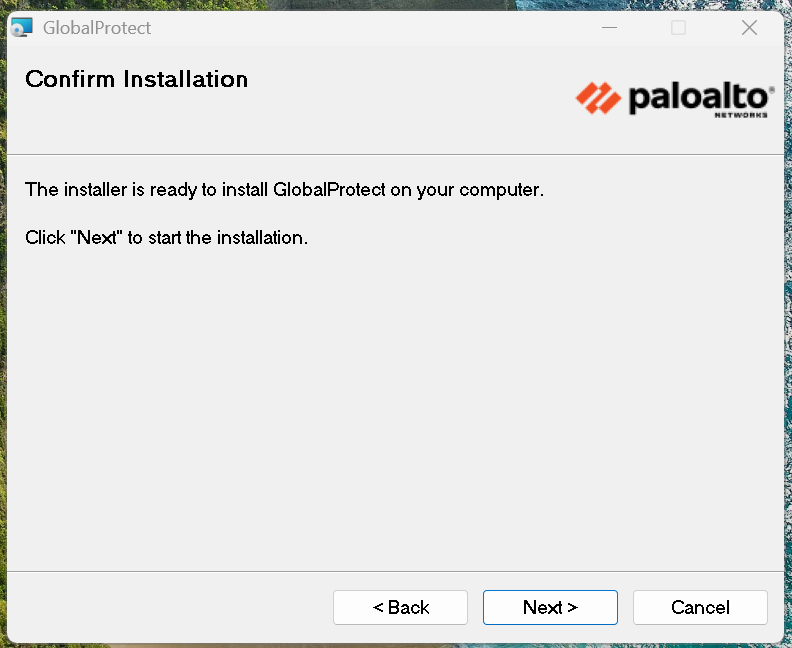
Click "Next" again to confirm the installation.
-
-
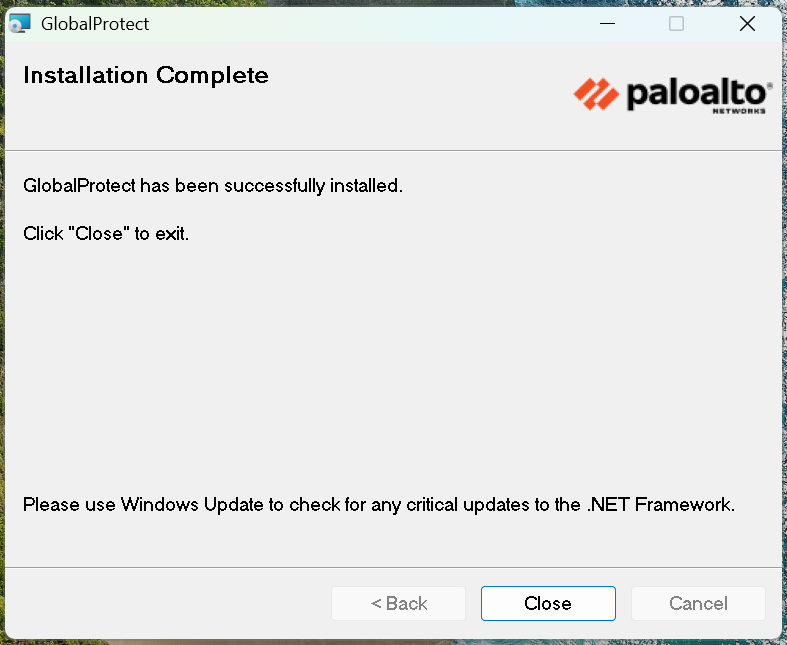
Complete the installation: Once the installation is finished, click "Close".
-
Connecting and Authenticating with GlobalProtect
After installation, you can connect to the VPN.
-
Open GlobalProtect:
-
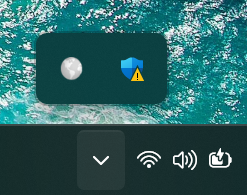
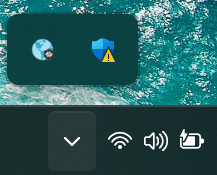
The GlobalProtect client should launch automatically after installation. If not, you can find it by clicking the small upward-pointing arrow (show hidden icons) in your system tray at the bottom right of your screen. The GlobalProtect icon is a small globe.
-
-
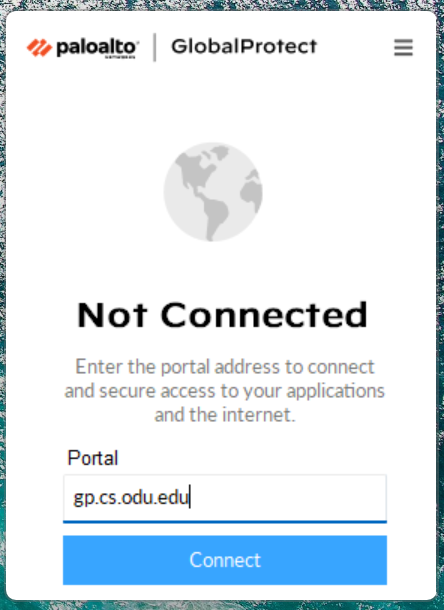
Enter Portal Address:
- When the GlobalProtect window appears, it will ask for a portal address. If it's not pre-filled or is incorrect, enter: gp.cs.odu.edu
-
Click "Connect".
-
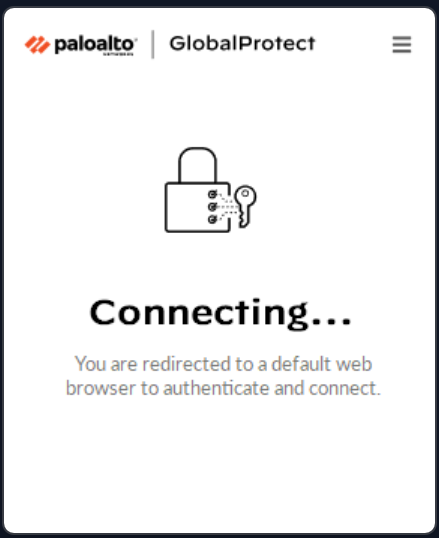
Authenticate:
-
The GlobalProtect client will show a "Connecting..." status and will redirect you to a web browser for authentication using your ODU CS credentials.
-
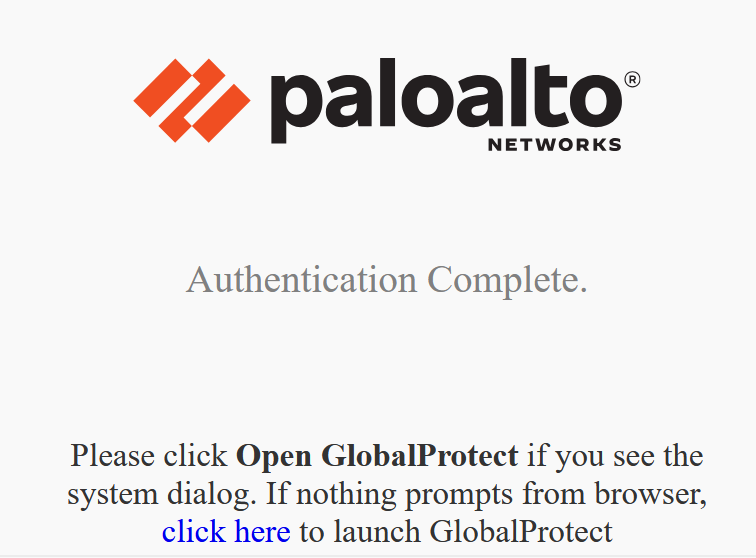
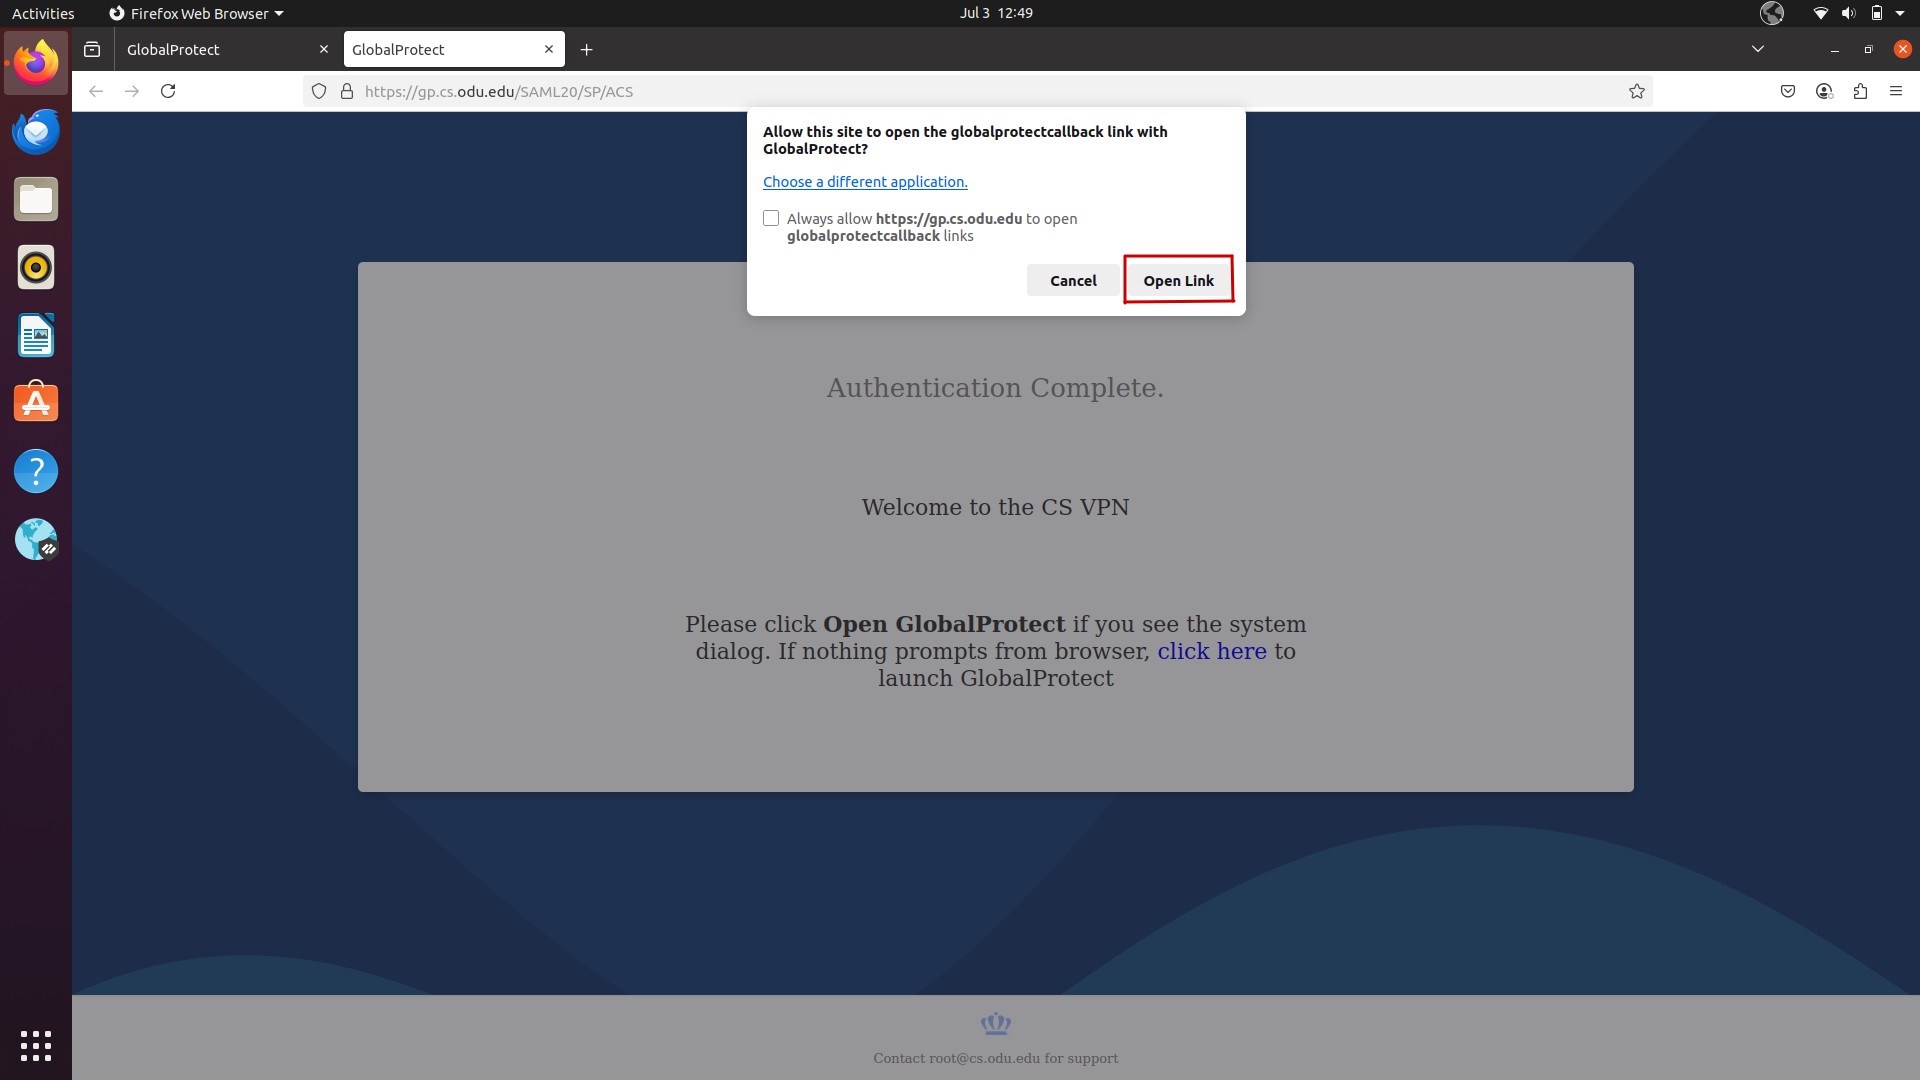
Follow the prompts in your web browser. Once authenticated, you may see an "Authentication Complete" page in the browser. You can then close the browser tab.
-
-
Connected Status:
-
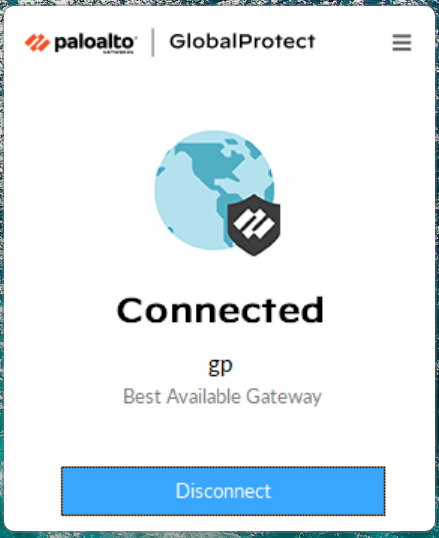
Once successfully connected, the GlobalProtect icon in the system tray will typically show a shield or indicate a connected status.
-
The GlobalProtect window will also show "Connected".
-
Disconnecting from GlobalProtect
When you no longer need the VPN connection:
-
Open GlobalProtect: Click the GlobalProtect icon (the globe or shield showing a connected state) in your system tray.
-
Disconnect: Click the "Disconnect" button in the GlobalProtect window.
GlobalProtect Installation (Mac)
This guide provides instructions for installing the Computer Science Department's GlobalProtect VPN on a computer running macOS.
-
Download the GlobalProtect Agent
- Navigate to the ODU CS VPN portal: Open a web browser and go to https://vpn.cs.odu.edu .
-
Log in: You will be prompted to enter your ODU CS credentials (CS_username and password).
-
Download the agent: Once logged in, look for a link to download the GlobalProtect agent. Download the version appropriate for your Mac.
-
Install the GlobalProtect Agent
Once the download is complete, you'll need to install the software.
-
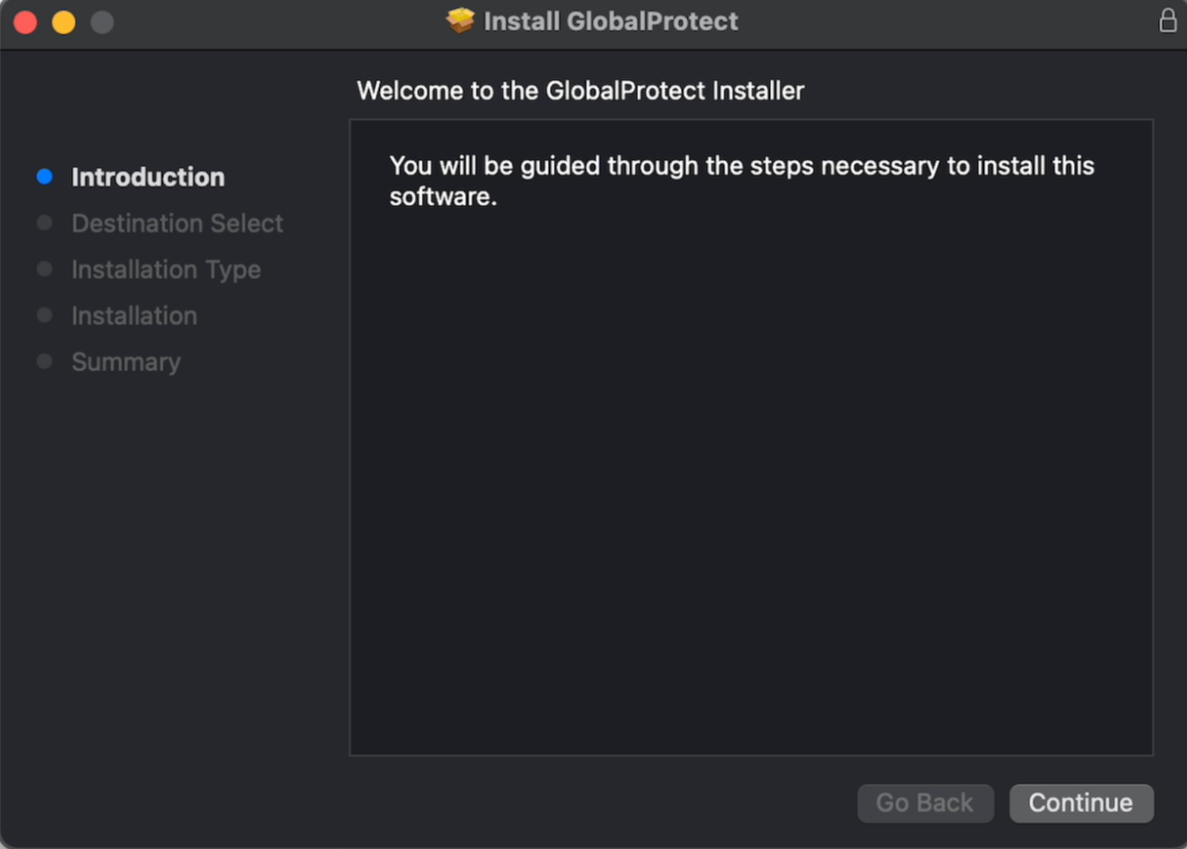
Run the installer: Locate the downloaded
.pkgfile in yourDownloadsfolder and double-click it to start the installation process. -
Follow the prompts:
-
Click "Continue" on the welcome screen.
-
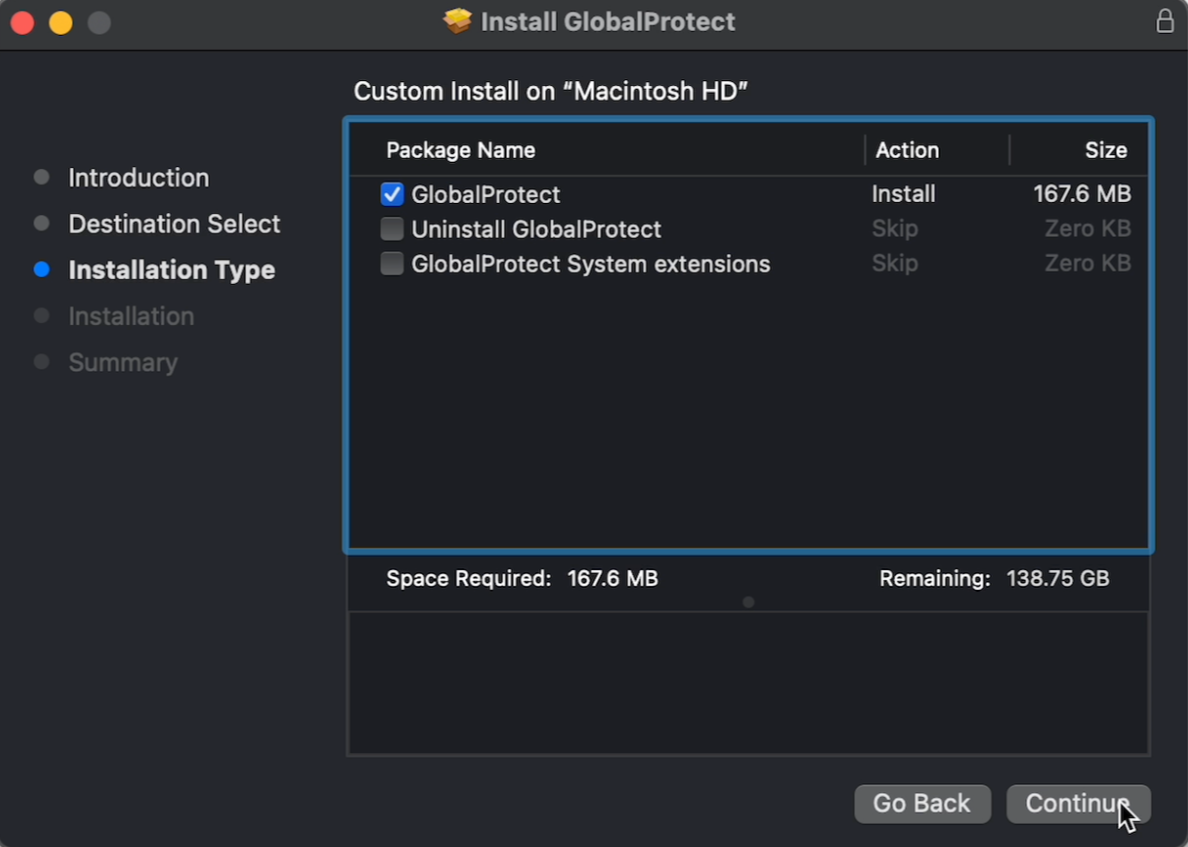
Continue through the "Installation Type" screen. You only need the GlobalProtect package checked.
-
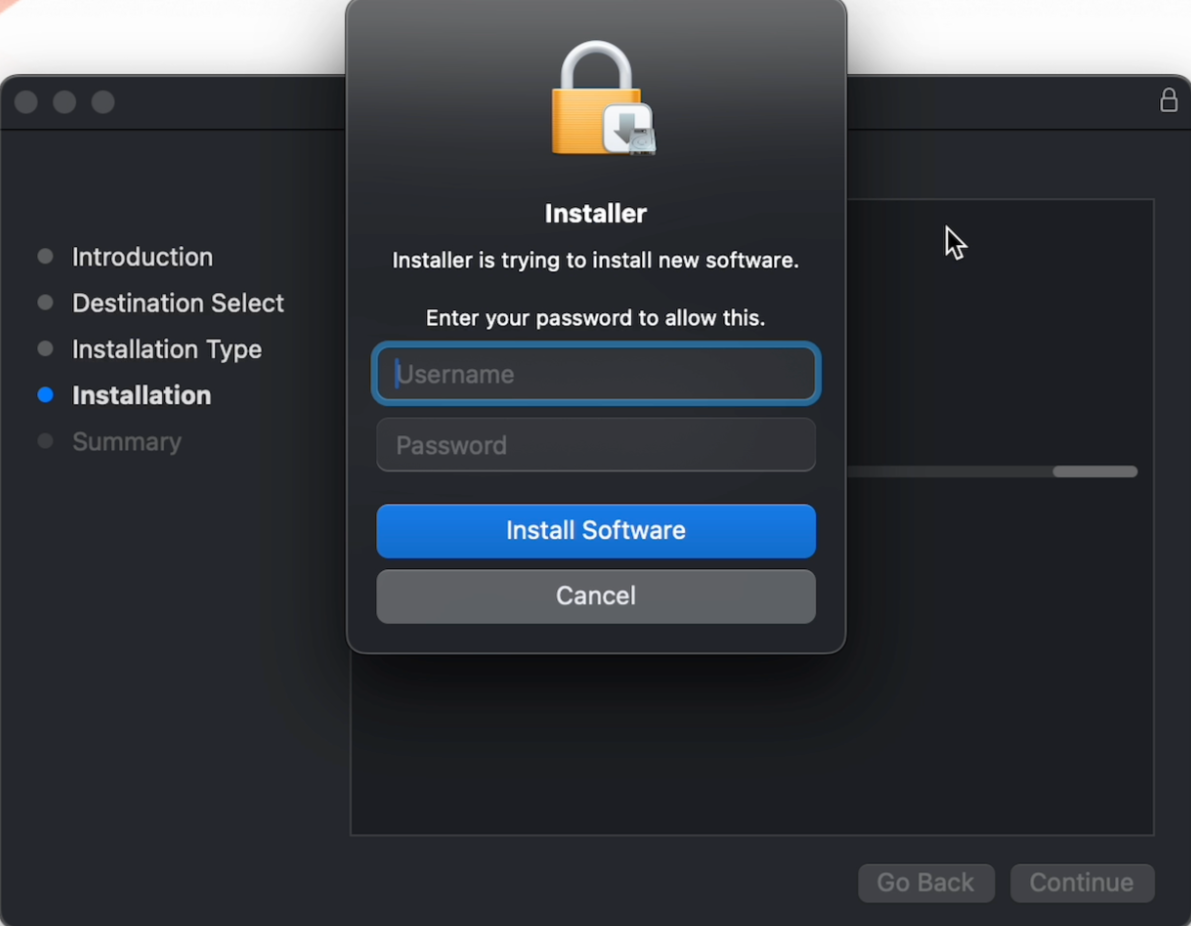
Click "Install" and enter your Mac's password when prompted to authorize the installation.
-
-
Important: Approve the System Extension
- During the installation, you will likely see a popup that says "System Extension Blocked". This is a standard macOS security feature.
- Click "Open System Settings" (or "Open Security Preferences" on older macOS).
- In the Privacy & Security settings, scroll down until you see a message like "System software from developer 'Palo Alto Networks' was blocked from loading."
- Click the "Allow" button. You may need to enter your Mac's password again.
-
Complete the installation: Once the process is finished, click "Close". You can move the installer file to the Trash.
-
Connecting and Authenticating with GlobalProtect
After installation, you can connect to the VPN.
-
Open GlobalProtect:
-
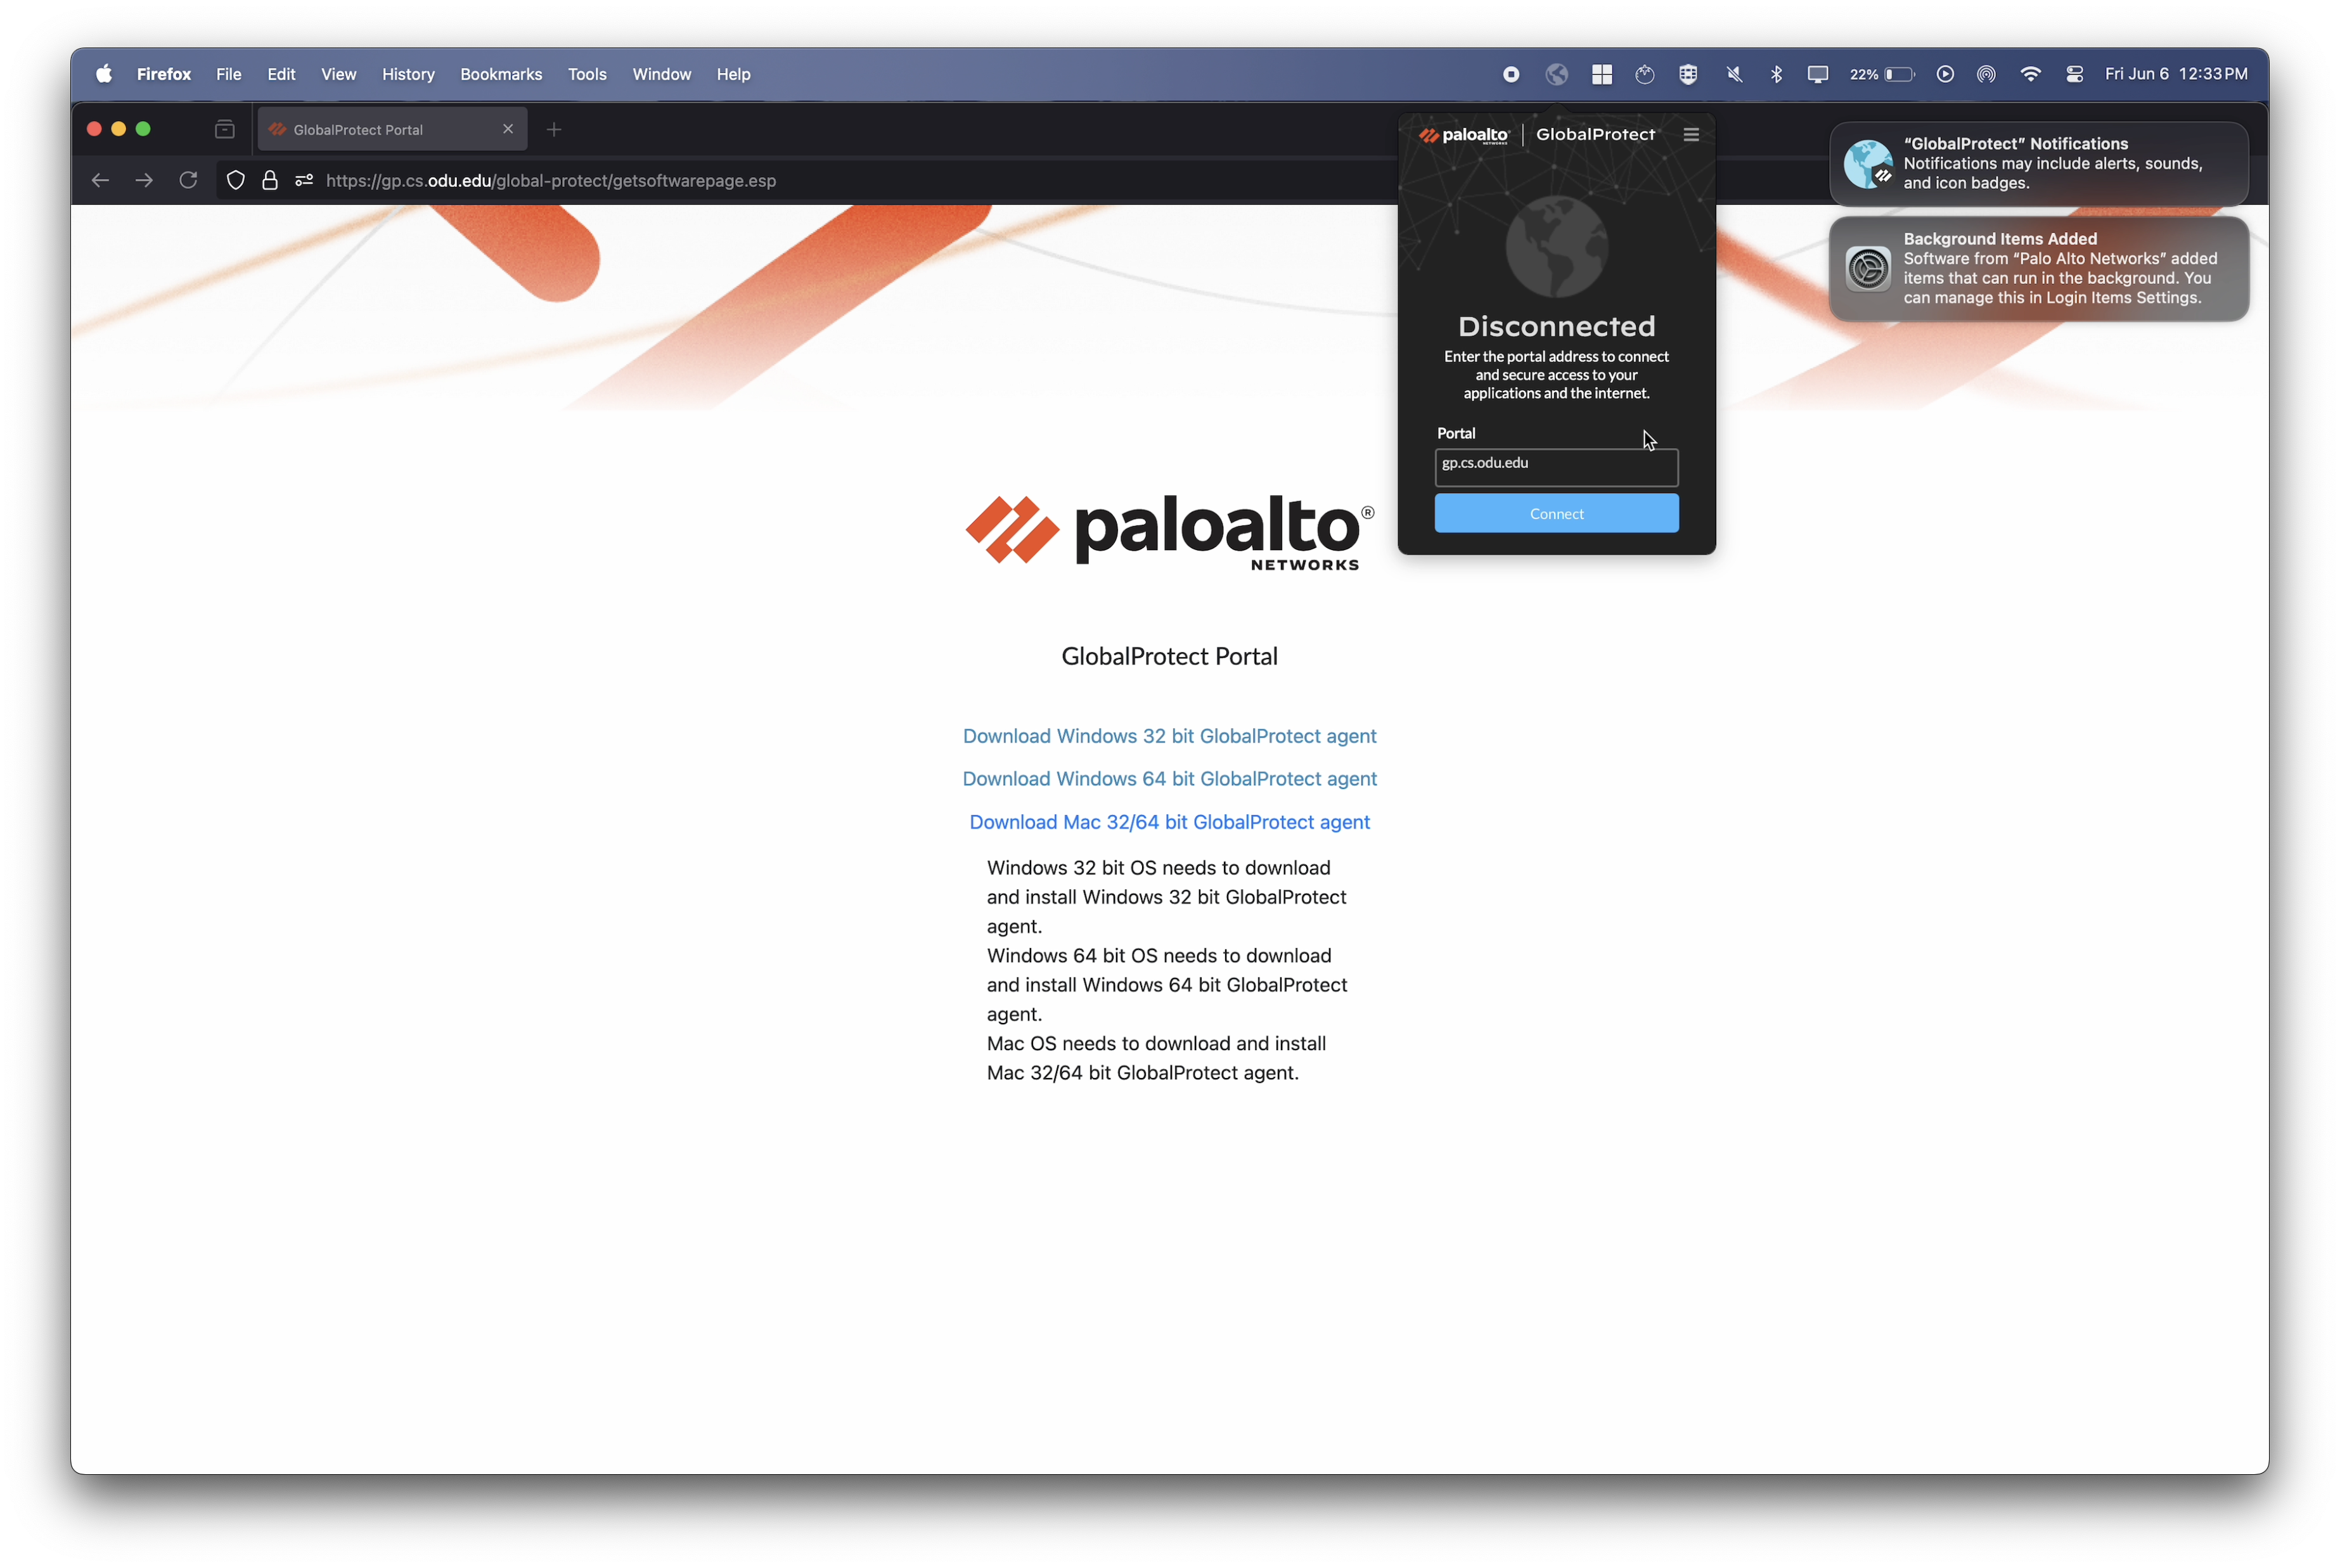
The GlobalProtect client should be running in your menu bar at the top of the screen. The GlobalProtect icon is a small grey globe. Click it to open the status window.

-
-
Enter Portal Address:
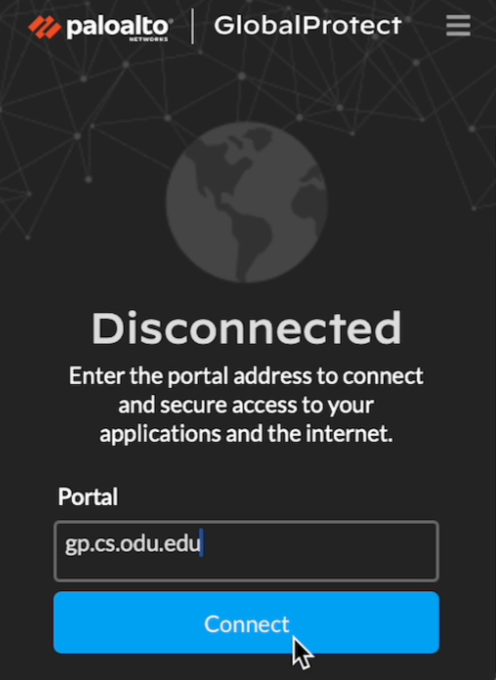
- When the GlobalProtect window appears, it will ask for a portal address. If it's not pre-filled or is incorrect, enter: gp.cs.odu.edu
-
Click "Connect".
-
Authenticate:
-
The GlobalProtect client will show a "Connecting..." status and will redirect you to a web browser for authentication using your ODU CS credentials.
-
Follow the prompts in your web browser. Once authenticated, you may see an "Authentication Complete" page. You can then close the browser tab.
-
-
Connected Status:
-
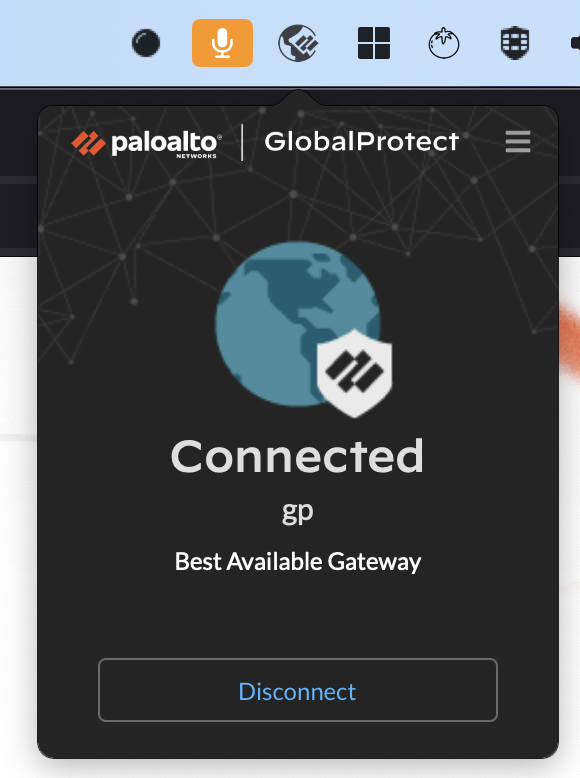
Once successfully connected, the GlobalProtect icon in the menu bar will change to a color globe with a shield.
-
The GlobalProtect window will also show "Connected".
-
Disconnecting from GlobalProtect
When you no longer need the VPN connection:
-
Open GlobalProtect: Click the GlobalProtect icon (the color globe with the shield) in your menu bar.
-
Disconnect: Click the "Disconnect" button in the GlobalProtect window.
GlobalProtect Installation (Chromebook)
GlobalProtect Installation for Chromebook
This guide provides instructions for installing the Computer Science Department's GlobalProtect VPN for Chromebook.
-
Enable the Google Play Store app on your Chromebook.
-
(Optional) If your Chromebook is running Chrome OS version 52 or earlier, update your Chromebook operating system here.
-
From your Chromebook, click your account photo at the bottom right corner of the screen.
- Select Settings
- Go to the Google Play Store section and turn on access to the Play Store.
⚠️ If you don't see this option, your Chromebook doesn't support Android apps. - When prompted, click Get Started to launch the Google Play Store.
- Agree to the Terms of Service.
- On the Welcome page, SIGN IN to the Google Play Store.
- Accept the Google Play Terms of Service.
-
-
Install the GlobalProtect app for Android endpoints on your Chromebook.
- Open the Google Play Store app.
- Search for GlobalProtect App.
- Click the GlobalProtect app icon.
- Click INSTALL, and then follow the on-screen instructions to complete the app installation.

Connecting and Authenticating with GlobalProtect
After installation, you can connect to the VPN.
-
Open GlobalProtect:
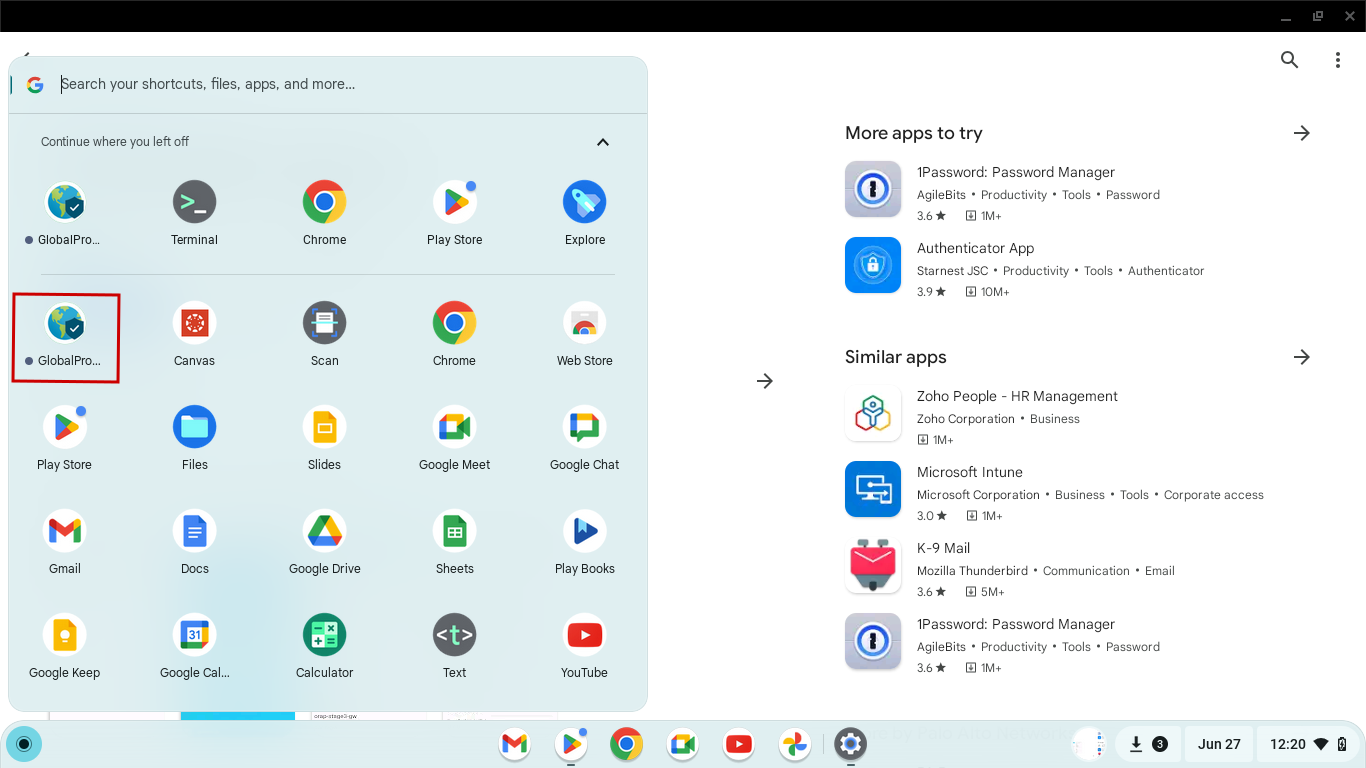
- From the Shelf: Look for the GlobalProtect icon (a small blue globe) in your shelf at the bottom of the screen. Click it to open the app.
-
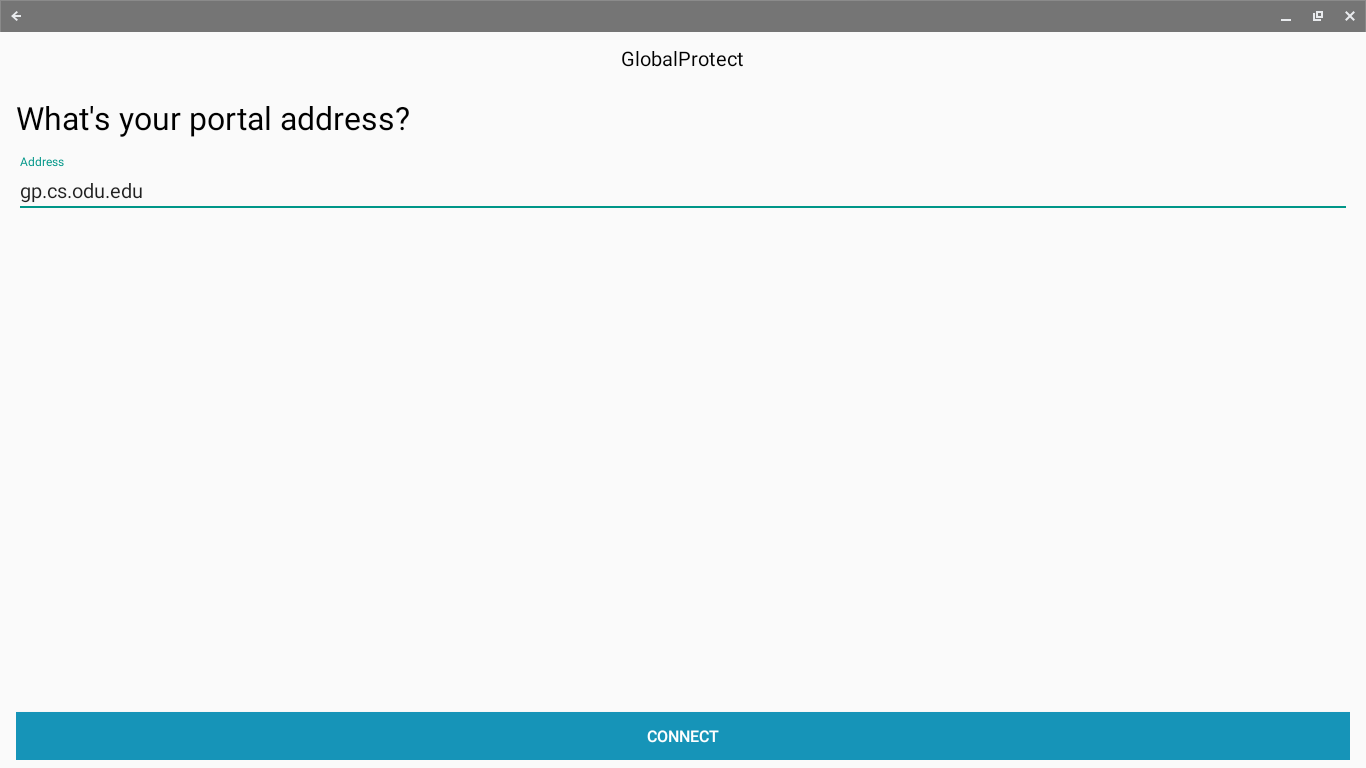
Enter Portal Address:
- When prompted, enter the portal address: gp.cs.odu.edu
- Click "Connect".
-
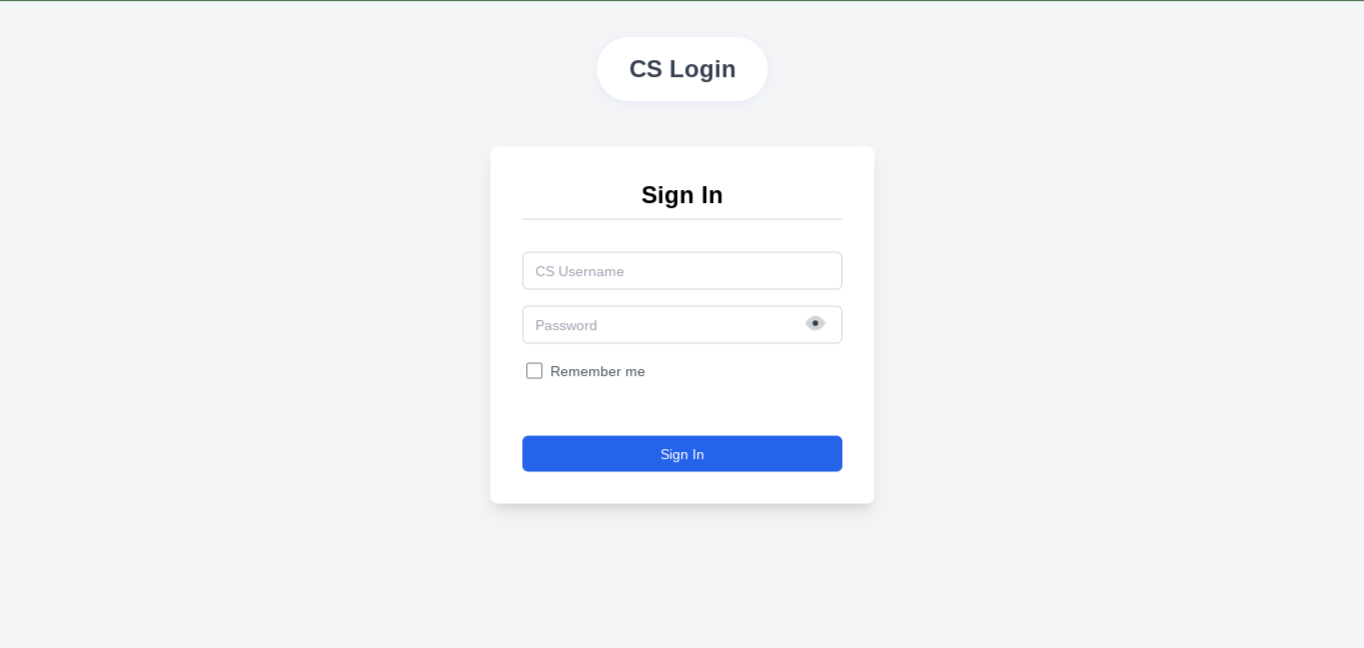
Authenticate:
- The GlobalProtect client will show a "Connecting..." status and will redirect you to a web browser for authentication using your ODU CS credentials.
-
Connected Status:
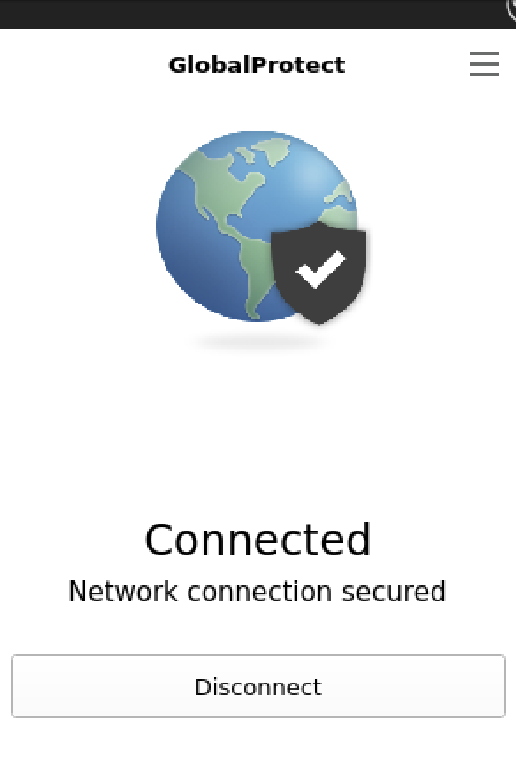
- Once successfully connected, the GlobalProtect home screen displays the CONNECTED state.
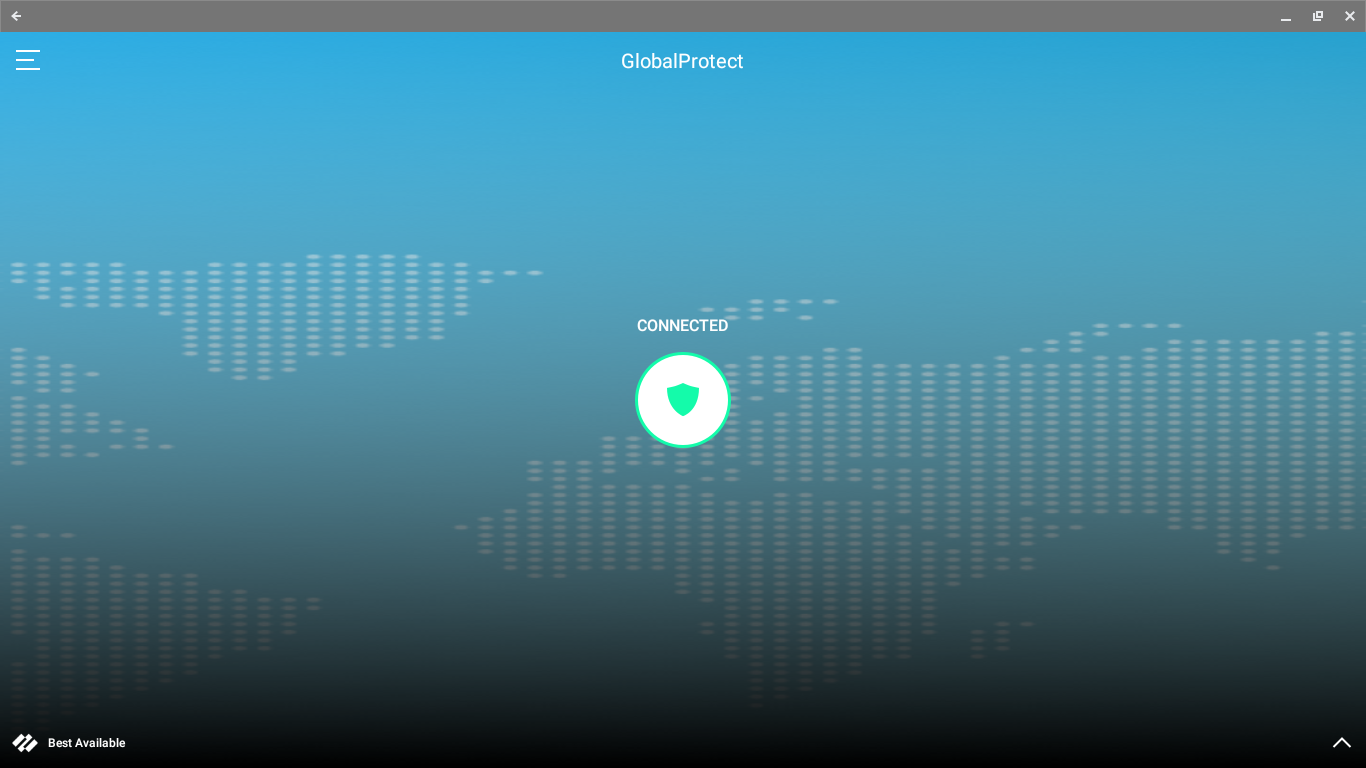
Disconnecting from GlobalProtect
- When you no longer need the VPN connection:
- Tap the shield icon in the center of the screen.
GlobalProtect Installation (Linux)
This guide provides instructions for installing the Computer Science Department's GlobalProtect VPN for Linux.
-
Download the GlobalProtect Agent
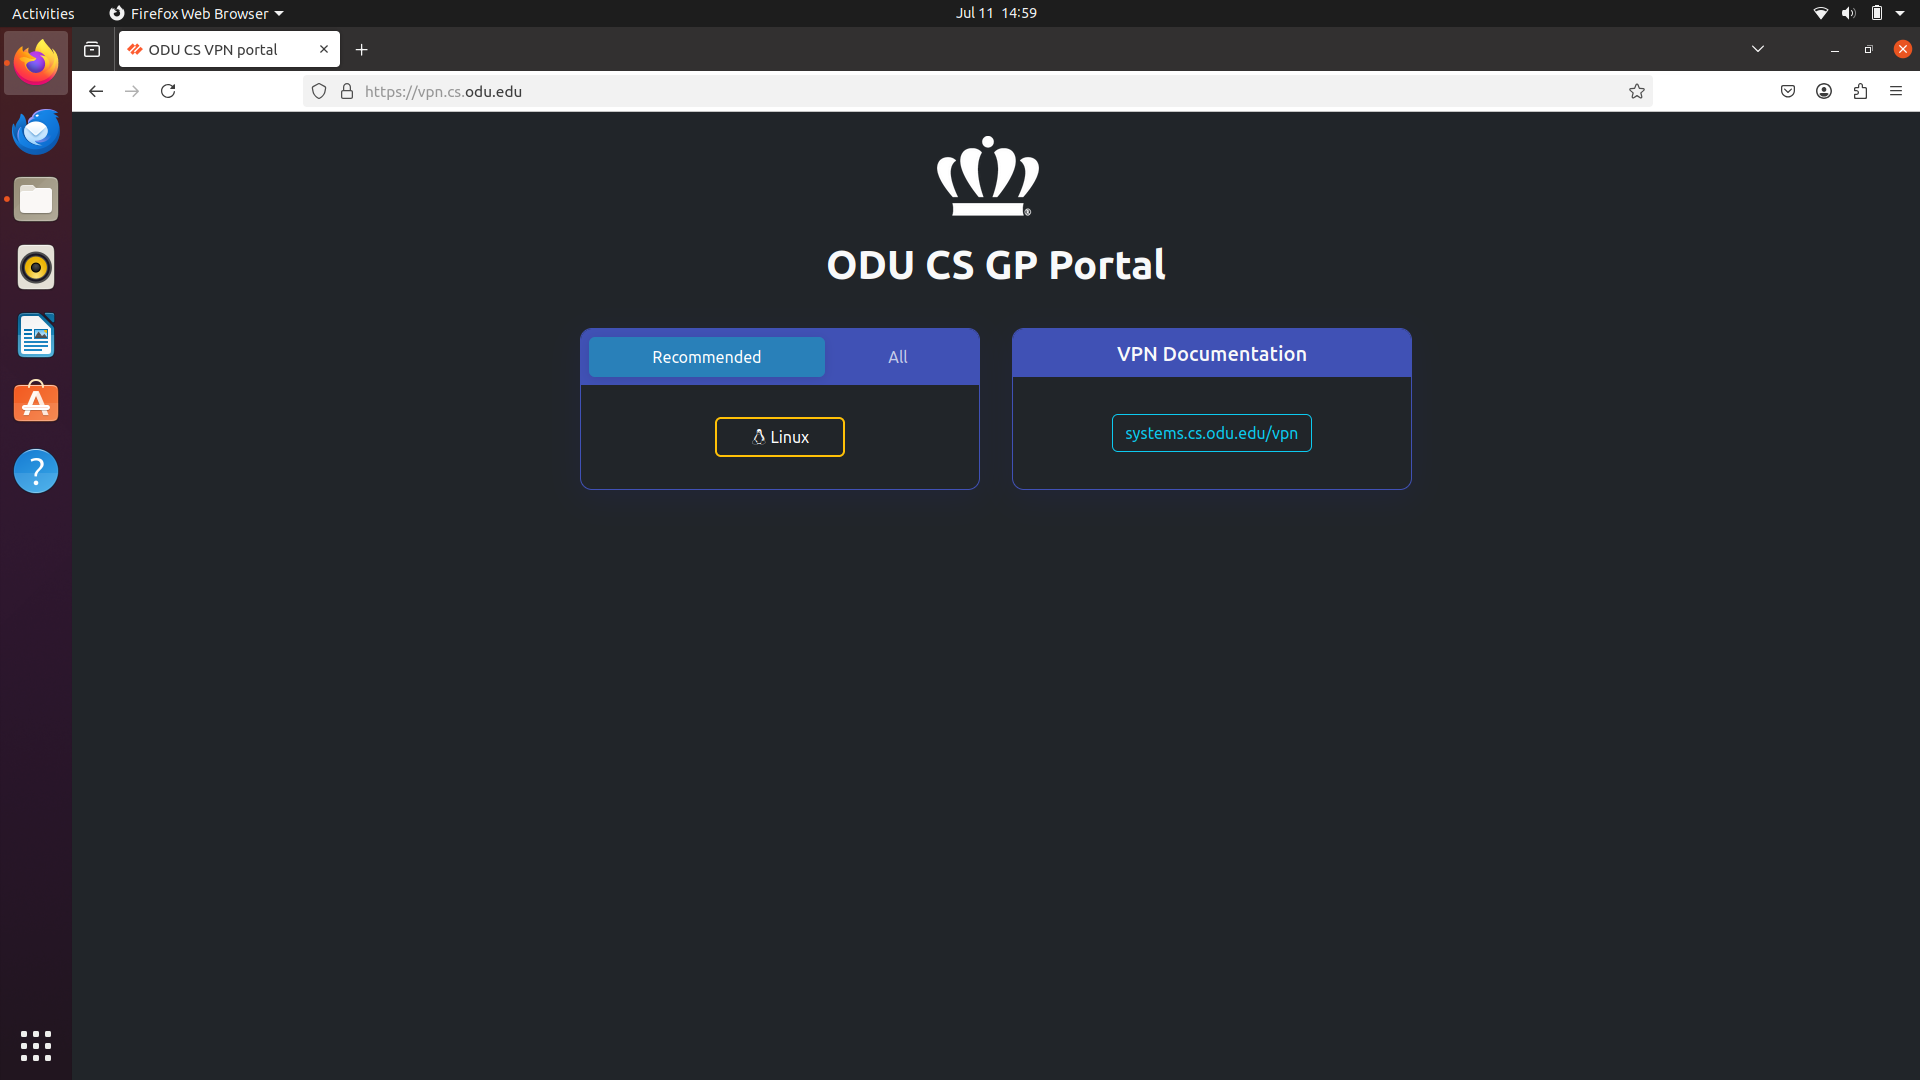
- Navigate to the ODU CS VPN portal: Open a web browser and go to https://vpn.cs.odu.edu .
- On the portal page, click the “Sign in with Keycloak” tab to continue the login process. This will direct you to the CS authentication page.
-
Log in: You will be prompted to enter your ODU CS credentials (CS_username and password).
-
Click the Linux tab on the GlobalProtect agent page. It will automatically detect your operating system and recommend the appropriate version. Supported Linux distributions include:
Red Hat Enterprise Linux (RHEL) 8.10Red Hat Enterprise Linux (RHEL) 9.4Ubuntu 20.04Ubuntu 22.04Fedora Linux 41Fedora Linux 42Rocky Linux 9.5
-
Install the GlobalProtect Client
-
Once the download is complete, navigate to the folder where the .zip file was saved. Right-click the downloaded file and select “Extract Here” (or “Extract”, depending on your file manager) to unpack its contents.
-
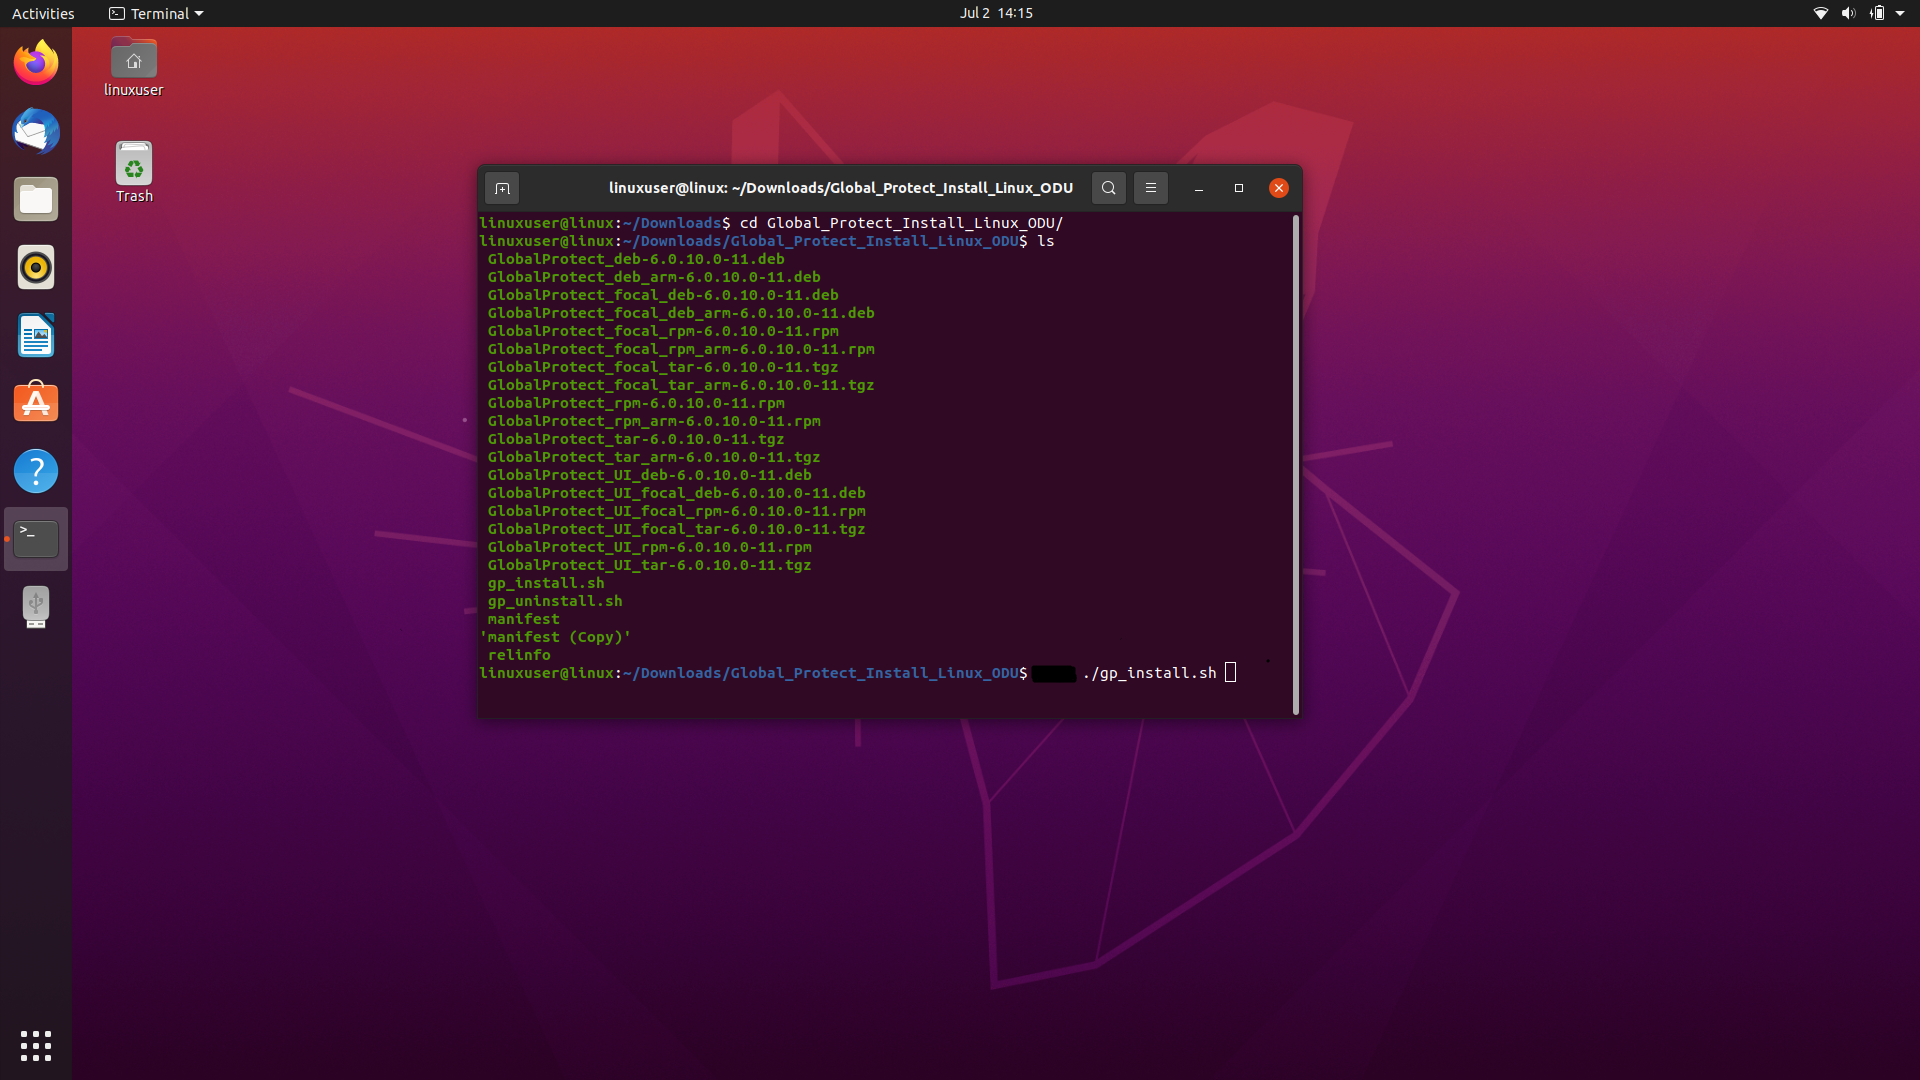
After extracting, open a terminal and navigate into the extracted folder. Inside, you’ll find a script named gp_install.sh. Run the script by typing ./gp_install.sh in the terminal (do not use sudo). This will install the correct version of GlobalProtect for your system.
-
-
Restart Your Computer
-
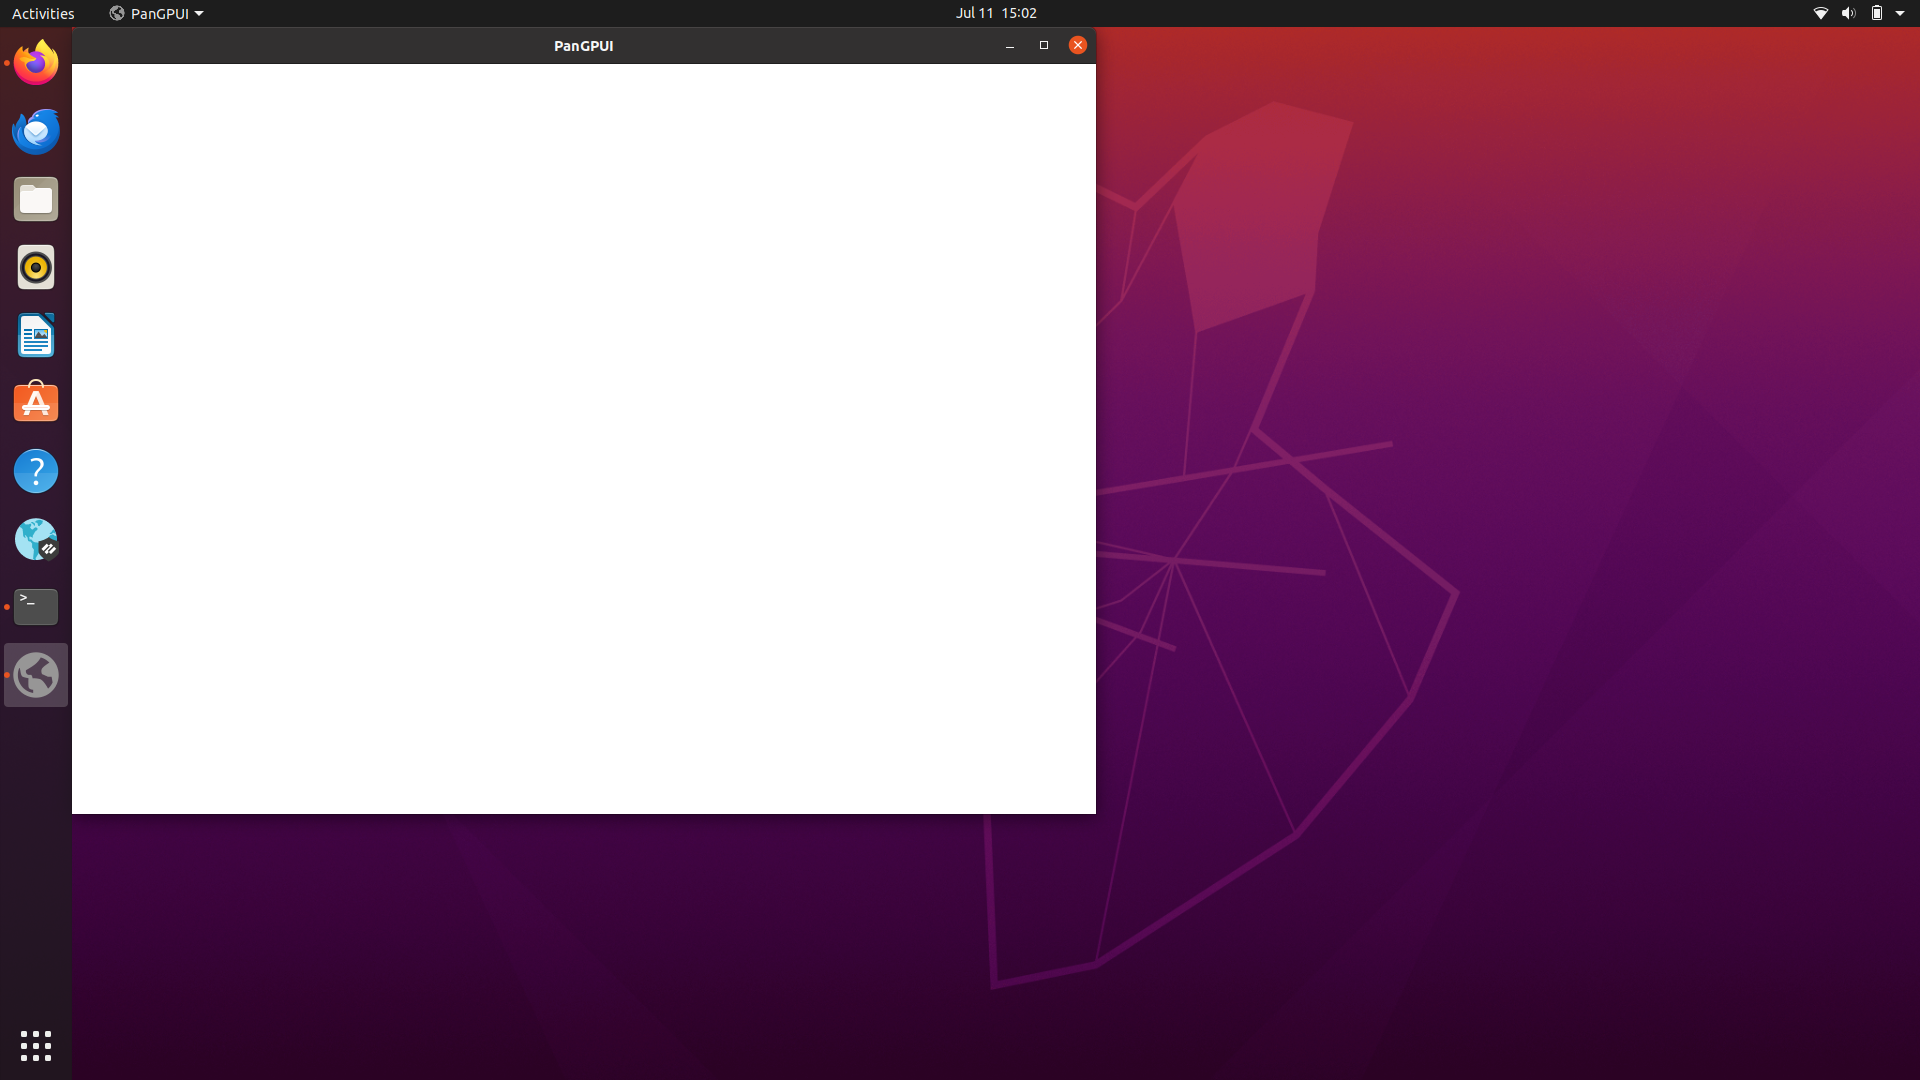
After installing GlobalProtect, restart your computer before attempting to connect. If you try to connect immediately, the browser window that opens may appear blank and the connection will not work properly. Restarting ensures that all necessary services and components are loaded correctly for GlobalProtect to function as expected.
-
Connecting and Authenticating with GlobalProtect
After installation, you can connect to the VPN.
-
Open GlobalProtect:
-
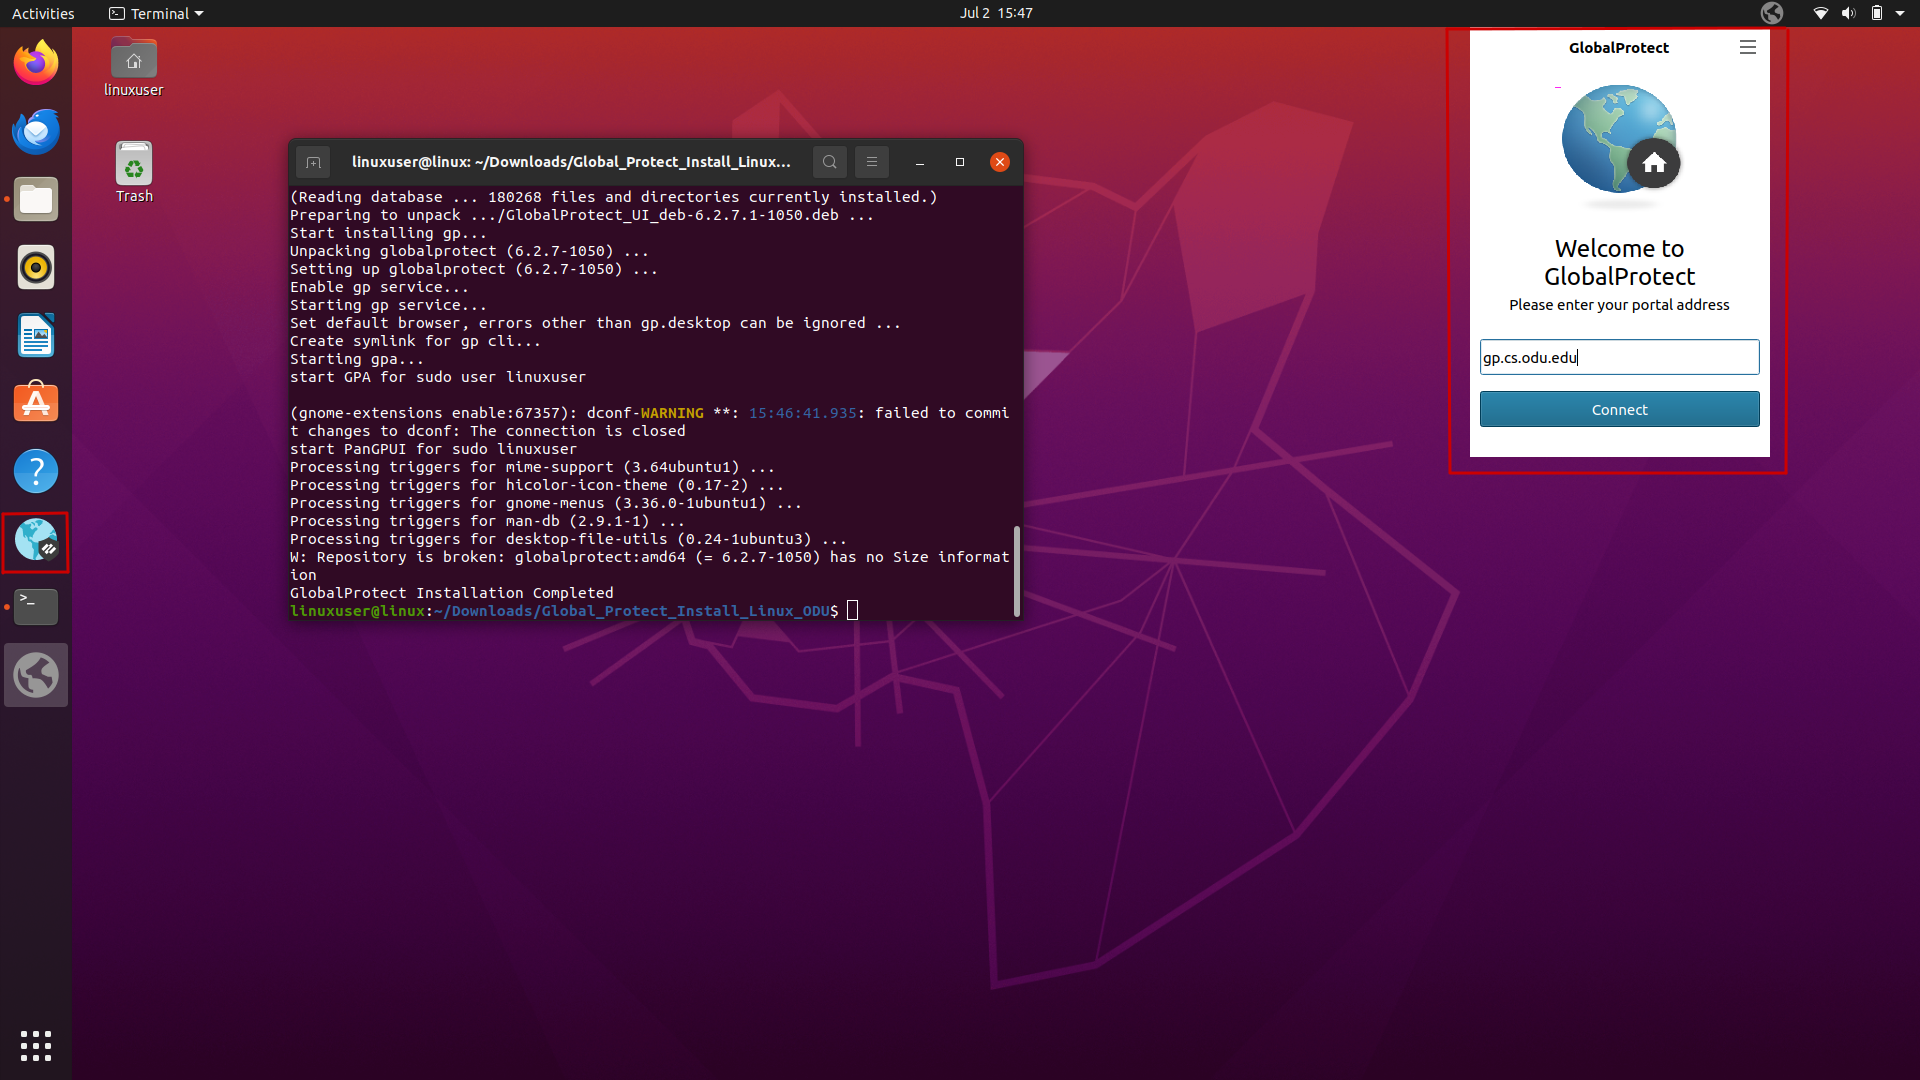
After restarting your computer, the GlobalProtect client should launch automatically. If it does not, open your applications menu and search for "GlobalProtect" to start it manually. Once launched, the GlobalProtect icon (a small globe) should appear in your system tray or top bar, depending on your desktop environment.
-
-
Enter Portal Address:
- When prompted, enter the portal address: gp.cs.odu.edu
-
Click "Connect"

-
Authenticate:
-
The GlobalProtect client will show a "Connecting..." status and will redirect you to a web browser for authentication using your ODU CS credentials.

-
📱 You will receive a Duo push notification on your device; open the Duo app and tap "Approve" to confirm. If you don't see a prompt, manually open the app to check for pending requests.
-
Once you approve the request, click “Open Link” when prompted. This allows your browser to open the GlobalProtect VPN client, confirming that a website is trying to initiate a secure connection with it on your computer.
-
-
Connected Status:
-
Once successfully connected, the GlobalProtect home screen displays the CONNECTED state.
-
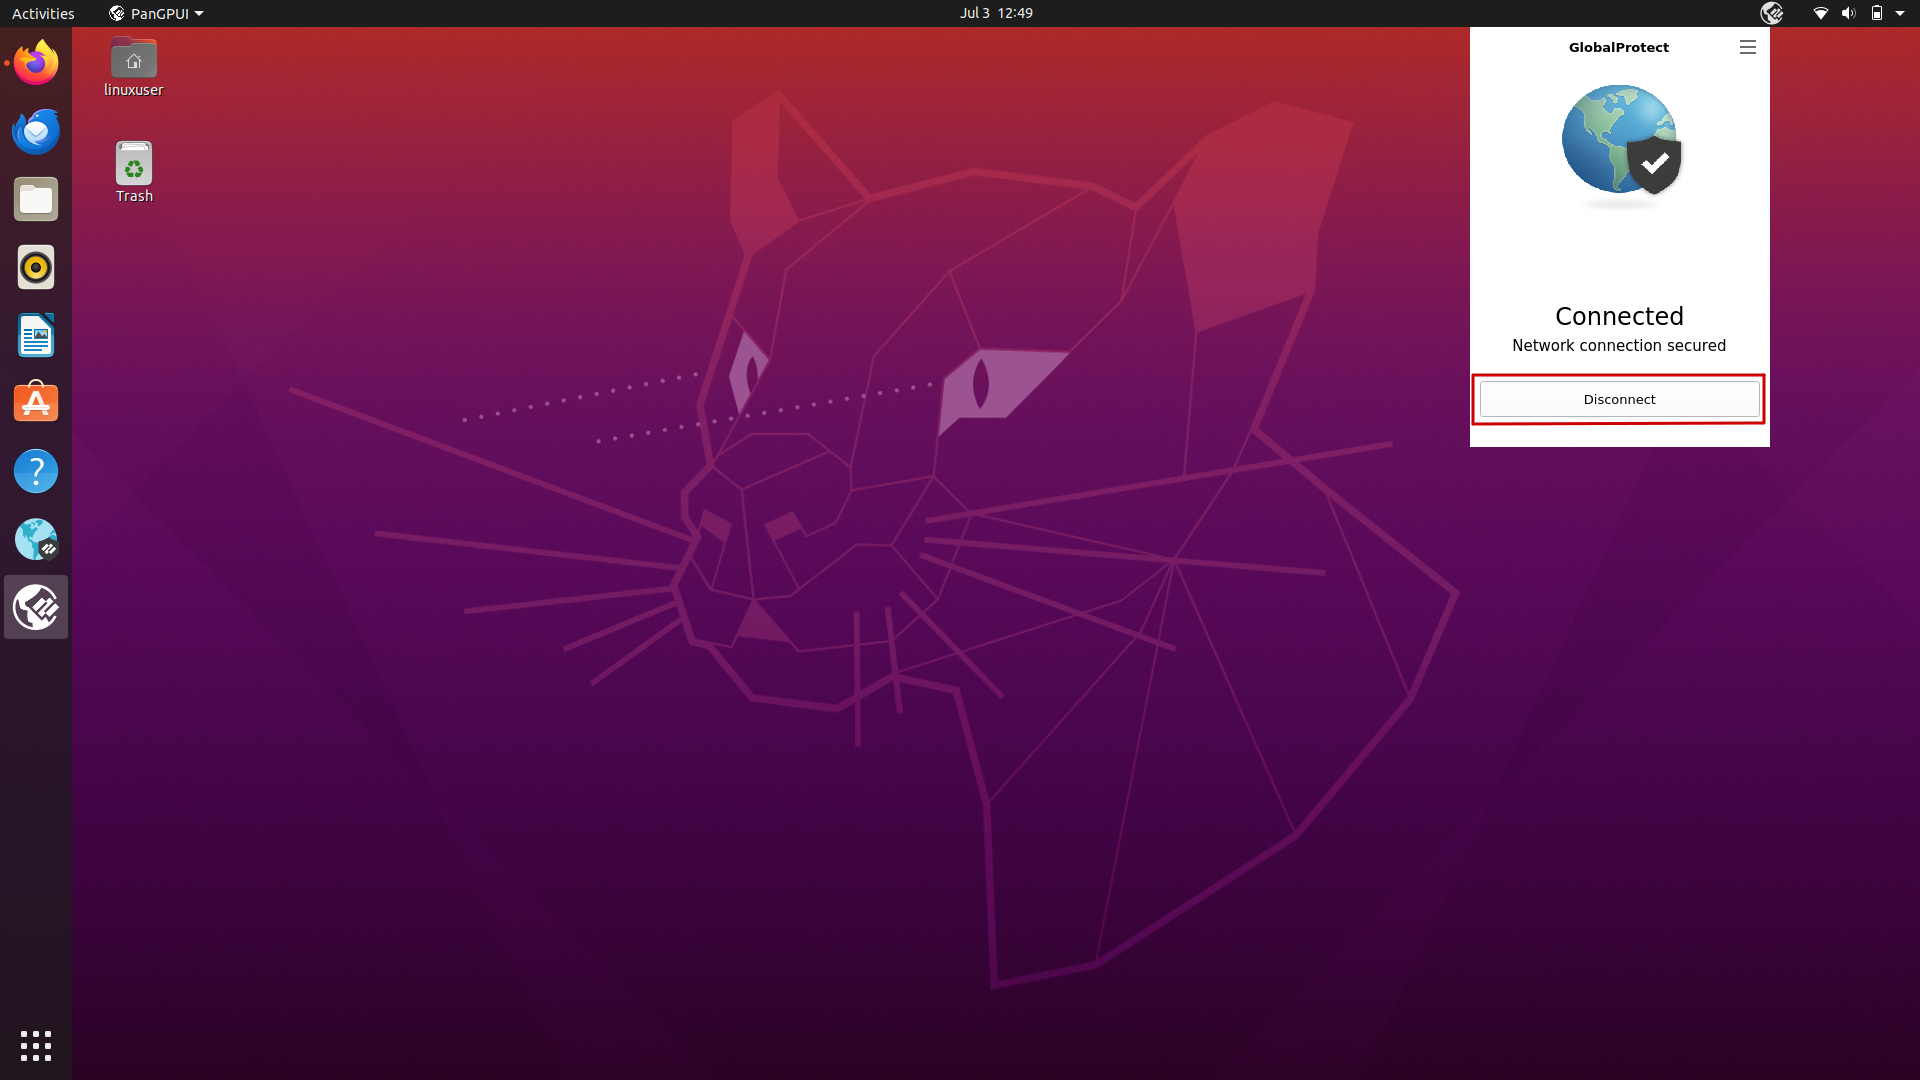
Disconnecting from GlobalProtect
When you no longer need the VPN connection:
-
Open GlobalProtect: Click the GlobalProtect icon (the color globe with the shield) in your menu bar.
-
To disconnect: Clock the GlobalProtect icon in the top bar or on the toolbar. Then, click the "Disconnect" button in the GlobalProtect window.
GlobalProtect Troubleshooting
-
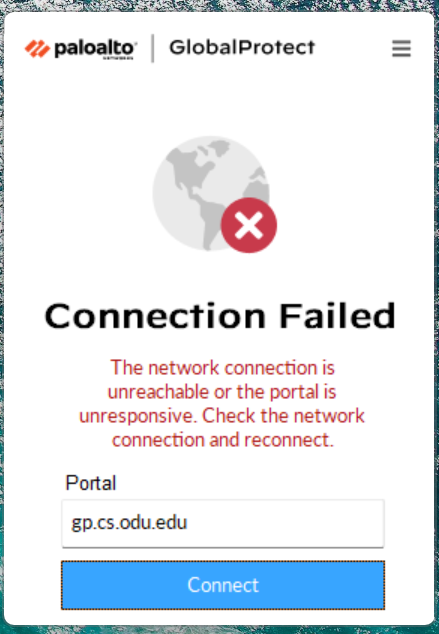
Incorrect Portal Address / Connection Failed: Ensure you have typed gp.cs.odu.edu correctly. If the connection fails with a message about the network being unreachable or the portal being unresponsive, check your internet connection first.
-
Incorrect Credentials: Double-check your ODU CS username and password. Make sure you are not using your general ODU MIDAS credentials since CS users have separate accounts.
-
Stuck on "Connecting..." (Embedded Browser): If the GlobalProtect client seems stuck on a "Connecting..." screen mentioning an "embedded browser" and does not proceed to the external browser for login, you might need to ensure your system allows GlobalProtect to open web pop-ups or try restarting the GlobalProtect client or your computer.
-
Applying a Registry Fix (Advanced): In some specific scenarios, a registry fix might be required. This should only be done if instructed by IT support or if you are comfortable editing the Windows Registry.
-
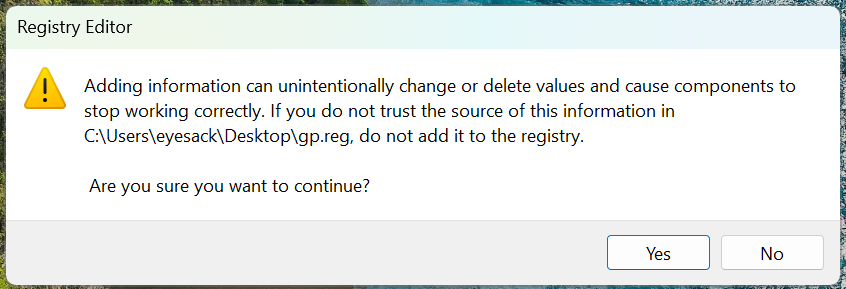
You would typically be provided with a
.regfile (e.g.,gp.reg).
-
Double-clicking this file will prompt a warning from the Registry Editor. Only proceed if you trust the source of the file. Click "Yes" to continue.
-
If successful, you will see a confirmation that the keys and values have been added to the registry.
-
Restart GlobalProtect or your computer afterwards.
-
-
Firewall Issues: Your personal firewall or antivirus software might be blocking the VPN connection. Temporarily disabling it for testing purposes might help identify if this is the cause (remember to re-enable it afterwards).
- Outdated Client: If you have an older version of GlobalProtect installed, try uninstalling it and then reinstalling the latest version from the gp.cs.odu.edu portal.
- Contact Support: If you continue to have issues, contact us through mail:
root@cs.odu.edu -
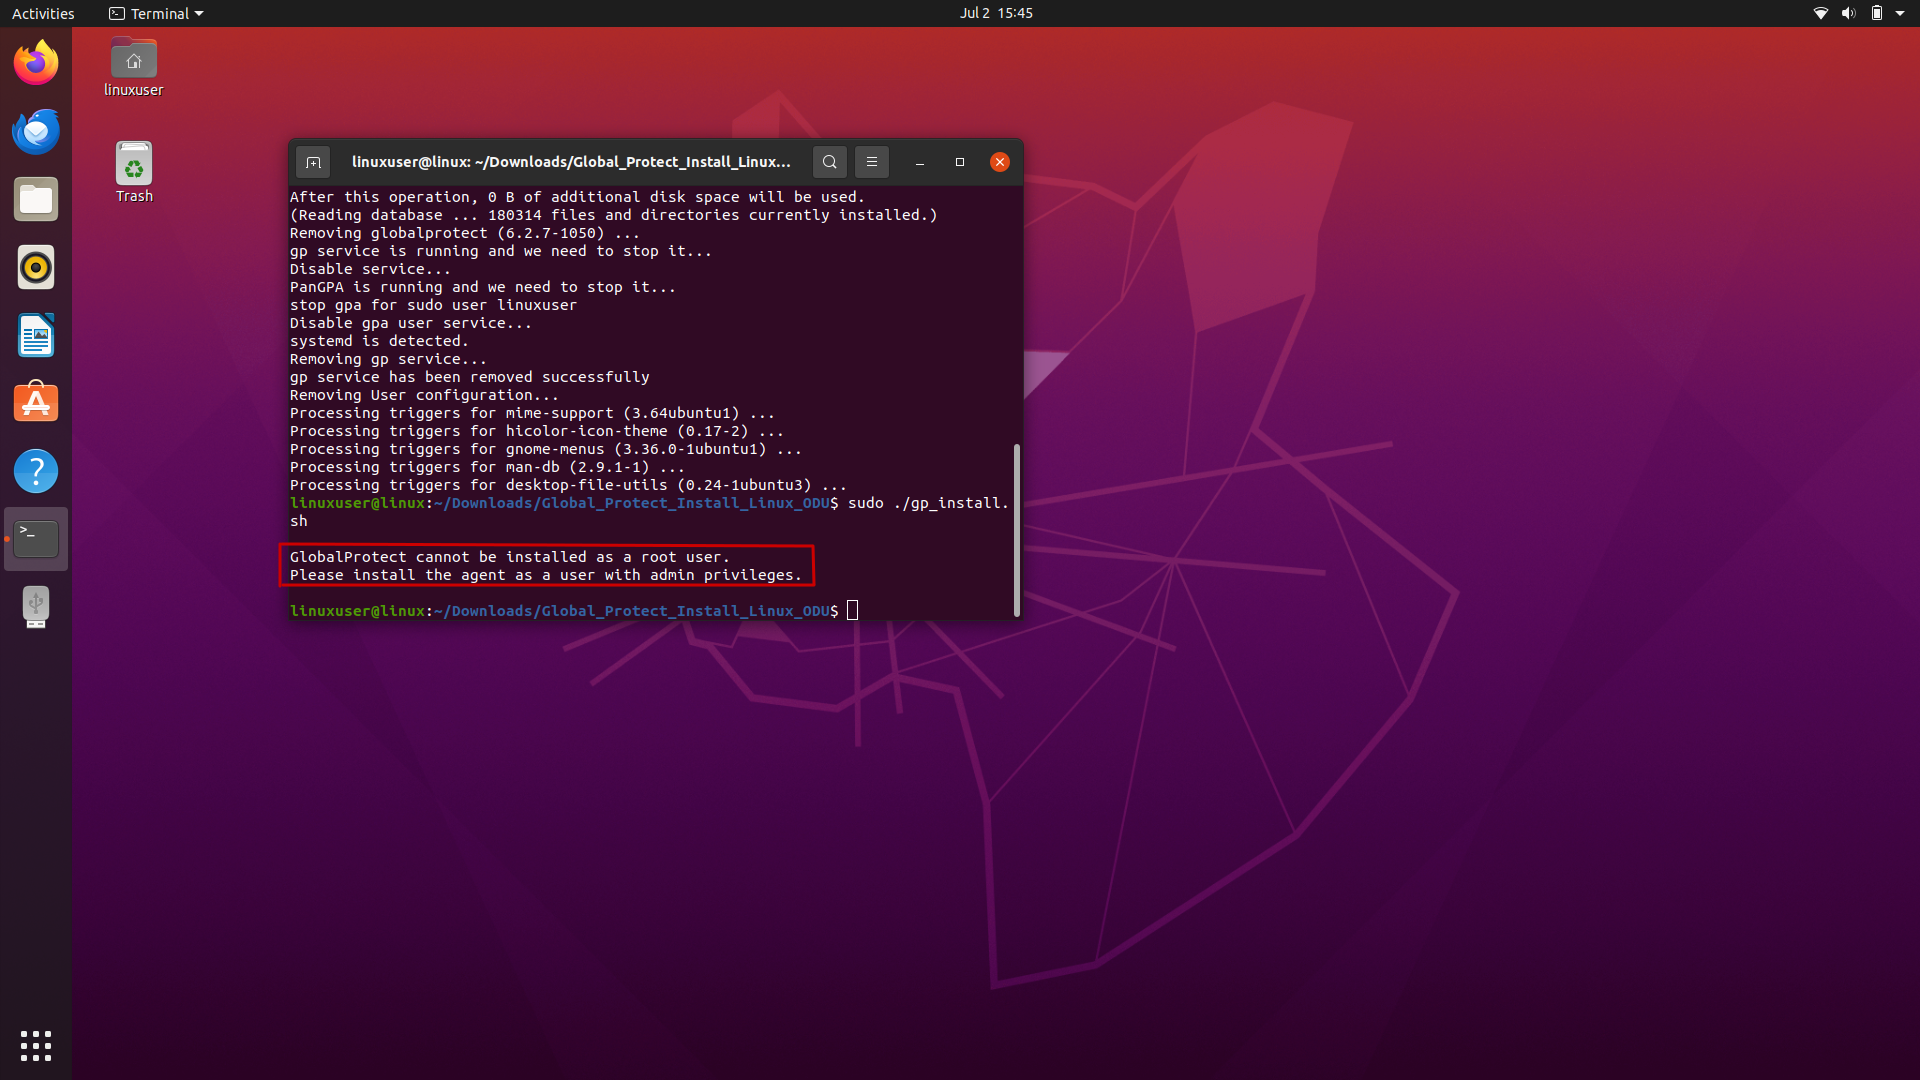
Running as Root: Do not run the script using sudo ./gp_install.sh. This will trigger the error: "GlobalProtect cannot be installed as a root user. Please install the agent as a user with admin privileges." The script must be executed as a regular user (e.g. ./gp_install.sh) because GlobalProtect needs to apply settings to your user environment. Running as root can interfere with desktop integration, GNOME extensions, and environment-specific configurations.