Difference between revisions of "VCPortal"
Systemswiki (Talk | contribs) (Updated procedures; January 2022) |
Systemswiki (Talk | contribs) |
||
| Line 16: | Line 16: | ||
== Accessing VCLab from Web Browser == | == Accessing VCLab from Web Browser == | ||
| − | ''Before proceeding, Connect to the CS GlobalProtect VPN [[VPN Services]]'' | + | ''Before proceeding, Connect to the CS GlobalProtect VPN [[VPN Services]]'' </br> |
''Adblockers must be disabled for functionality'' | ''Adblockers must be disabled for functionality'' | ||
| Line 27: | Line 27: | ||
#: [[File:VCPortal_P1.png|400px]] | #: [[File:VCPortal_P1.png|400px]] | ||
#: At the final login screen, provide your CS credentials again. | #: At the final login screen, provide your CS credentials again. | ||
| − | #: [[File: | + | #: [[File:VCPortal signin2.png|400px]] |
| − | + | Connect to the remote computer lab by clicking '''Any Available Machines'''<ref name="Machine">For Students this should be titled ''Student Machines'', and for Staff it should be titled ''Faculty Machines''</ref></br> <!--Changed from VCLab--> | |
#: [[File:VCPortal_MainPage.png|400px]] <!--Took a screenshot and can provide this as well --> | #: [[File:VCPortal_MainPage.png|400px]] <!--Took a screenshot and can provide this as well --> | ||
| − | + | Your remote desktop connection will start in your web browser<ref name="Drive">Users can access their Documents on their personal drive, which is designated as the '''Z:\''' Drive.</ref></br> | |
| − | #: [[File: | + | #: [[File:Student machine Zdrive.png|400px]] |
== Remote Desktop Client == | == Remote Desktop Client == | ||
| Line 43: | Line 43: | ||
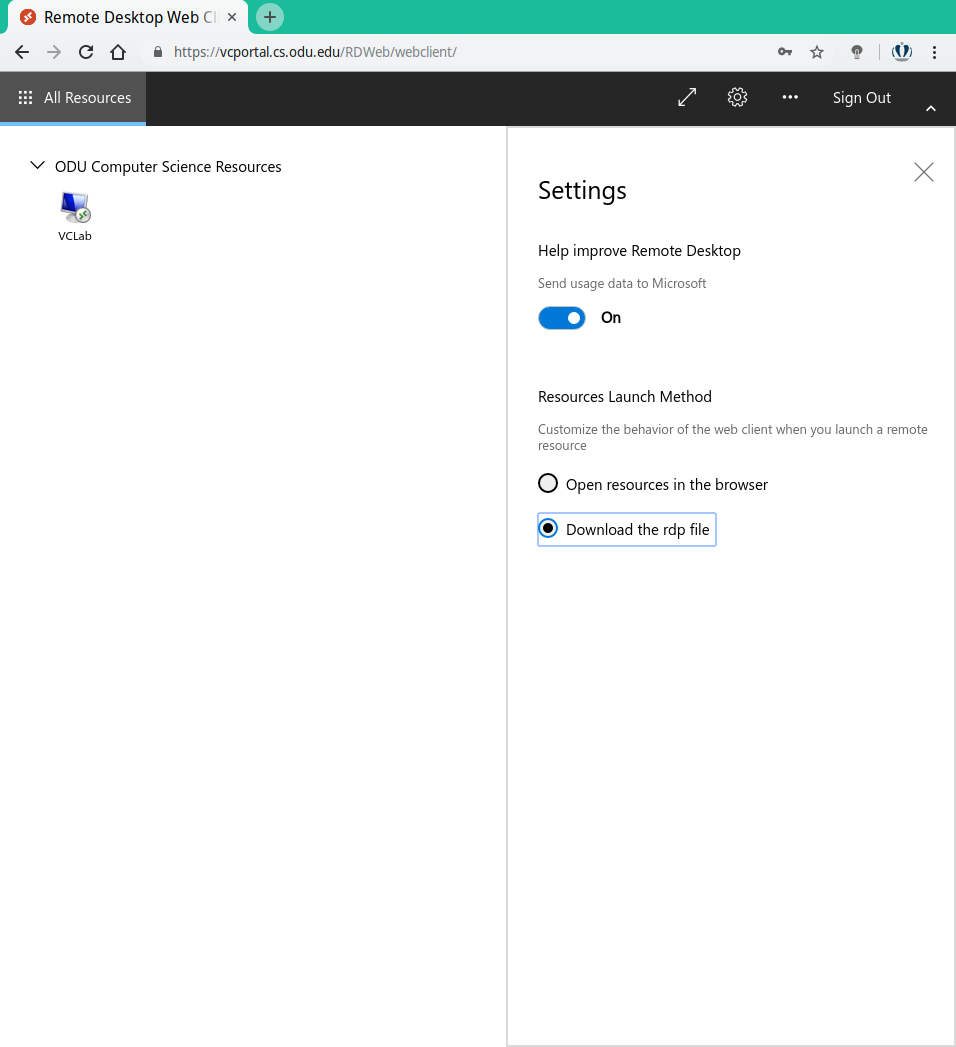
# Select the "Download the rdp file" radio button | # Select the "Download the rdp file" radio button | ||
#: [[File:06-rdpfile.png|400px]] | #: [[File:06-rdpfile.png|400px]] | ||
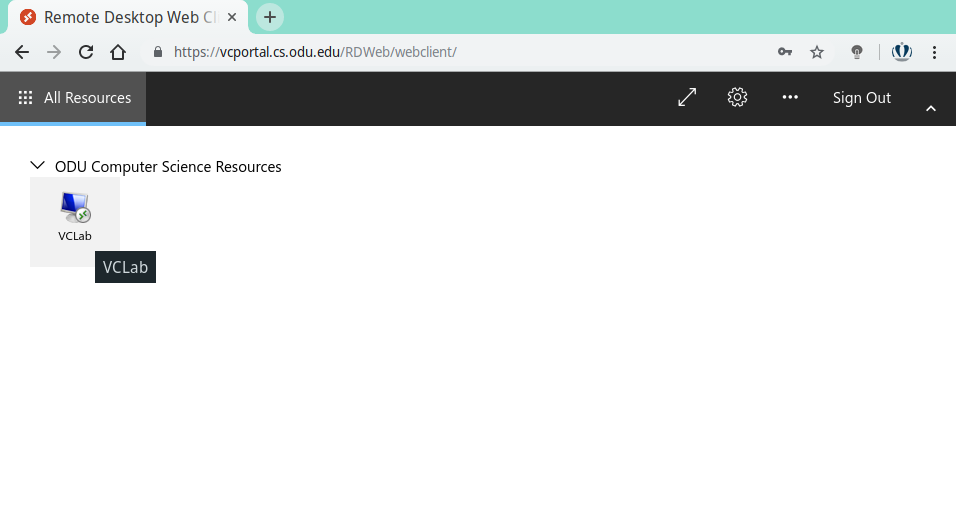
| − | #: Download the pre-configured RDP file by ''clicking'' '''Any available Machines | + | #: Download the pre-configured RDP file by ''clicking'' '''Any available Machines'''<ref name="Machine"/> <!--Changed from VCLab--> |
#: [[File:02-homepage.png|400px]] | #: [[File:02-homepage.png|400px]] | ||
# You will be prompted to save a pre-configured RDP file | # You will be prompted to save a pre-configured RDP file | ||
| Line 58: | Line 58: | ||
#: [[File:10-login.png|400px]] | #: [[File:10-login.png|400px]] | ||
#: [[File:11-domain.png|400px]] | #: [[File:11-domain.png|400px]] | ||
| − | + | <references/> | |
| − | + | ||
Revision as of 20:50, 24 January 2022
ODU Computer Science | Virtual Computer Lab User’s Guide
The Computer Science Department provides a Virtual Computer Lab as a remote computer solution. "VCLab" allows ODU remote faculty and students access to computer lab machine images over their network. Our users can interact with the remote operating system and its applications as if they were running locally.
The Virtual Computer Lab features:
- Up-to-date operating system
- Software development applications including IDEs and database tools
- Modern look and feel
- HTML5 web browser as a VDI client
This documentation is divided into the following sections
- Accessing Virtual Computer Lab from a web browser
- Accessing Virtual Computer Lab with a native RDP client
Accessing VCLab from Web Browser
Before proceeding, Connect to the CS GlobalProtect VPN VPN Services </br> Adblockers must be disabled for functionality
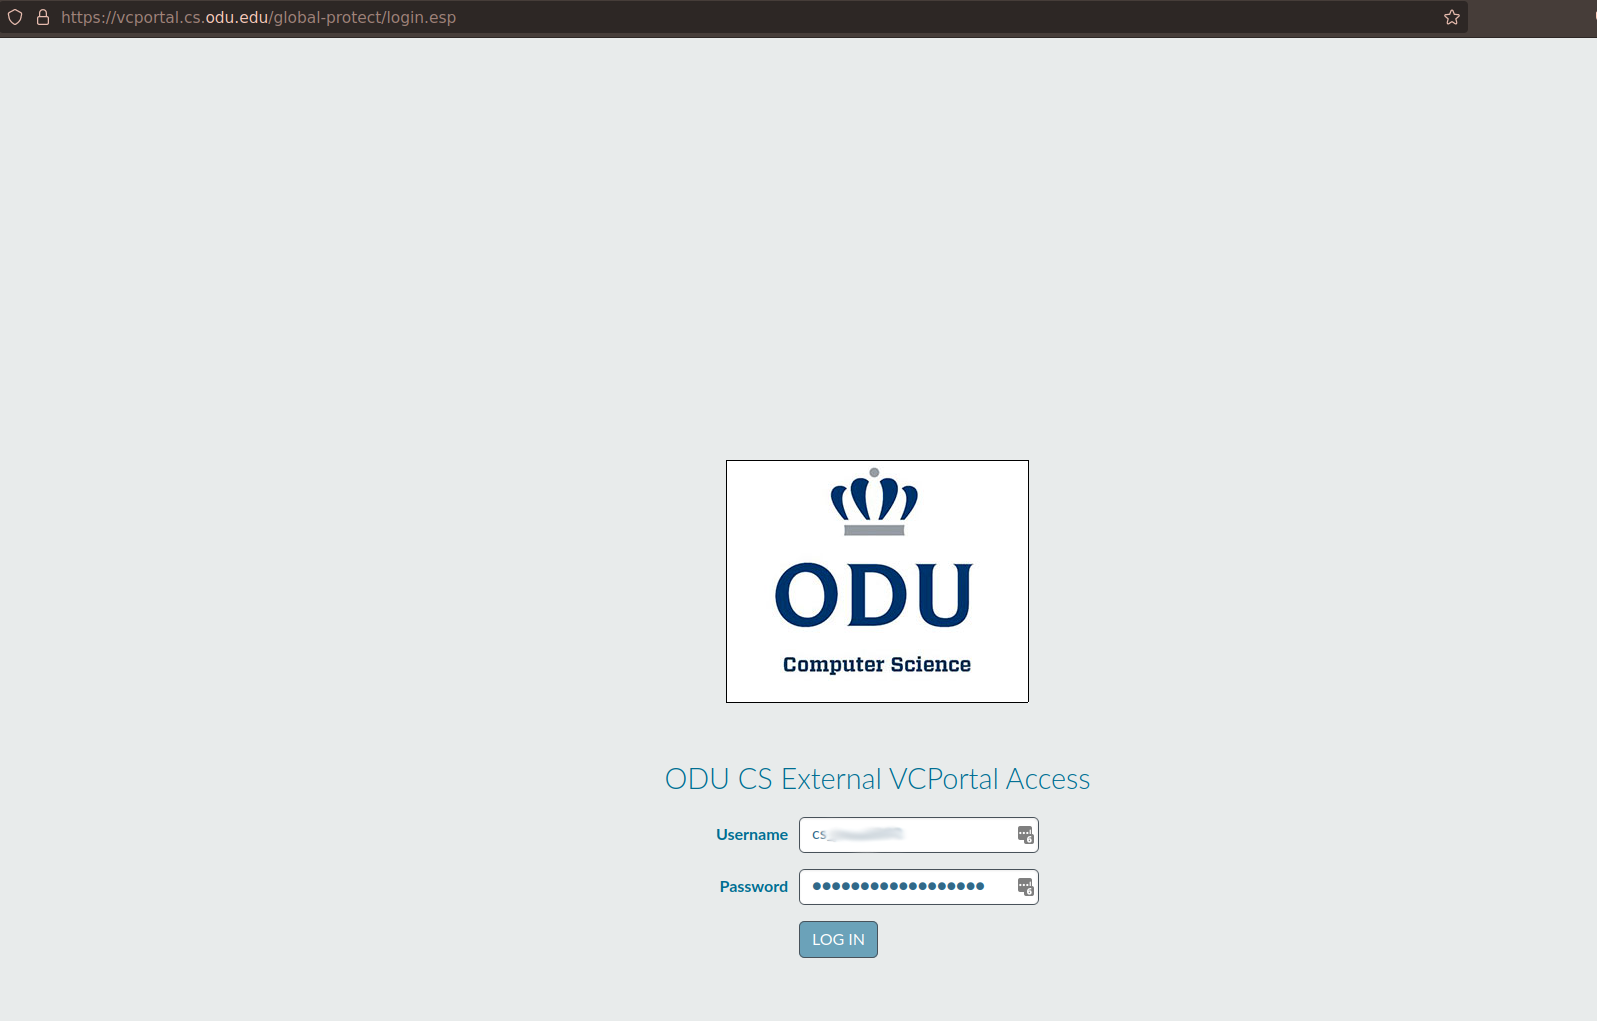
- Navigate to https://vcportal.cs.odu.edu
- At the login screen, provide your CS credentials
-
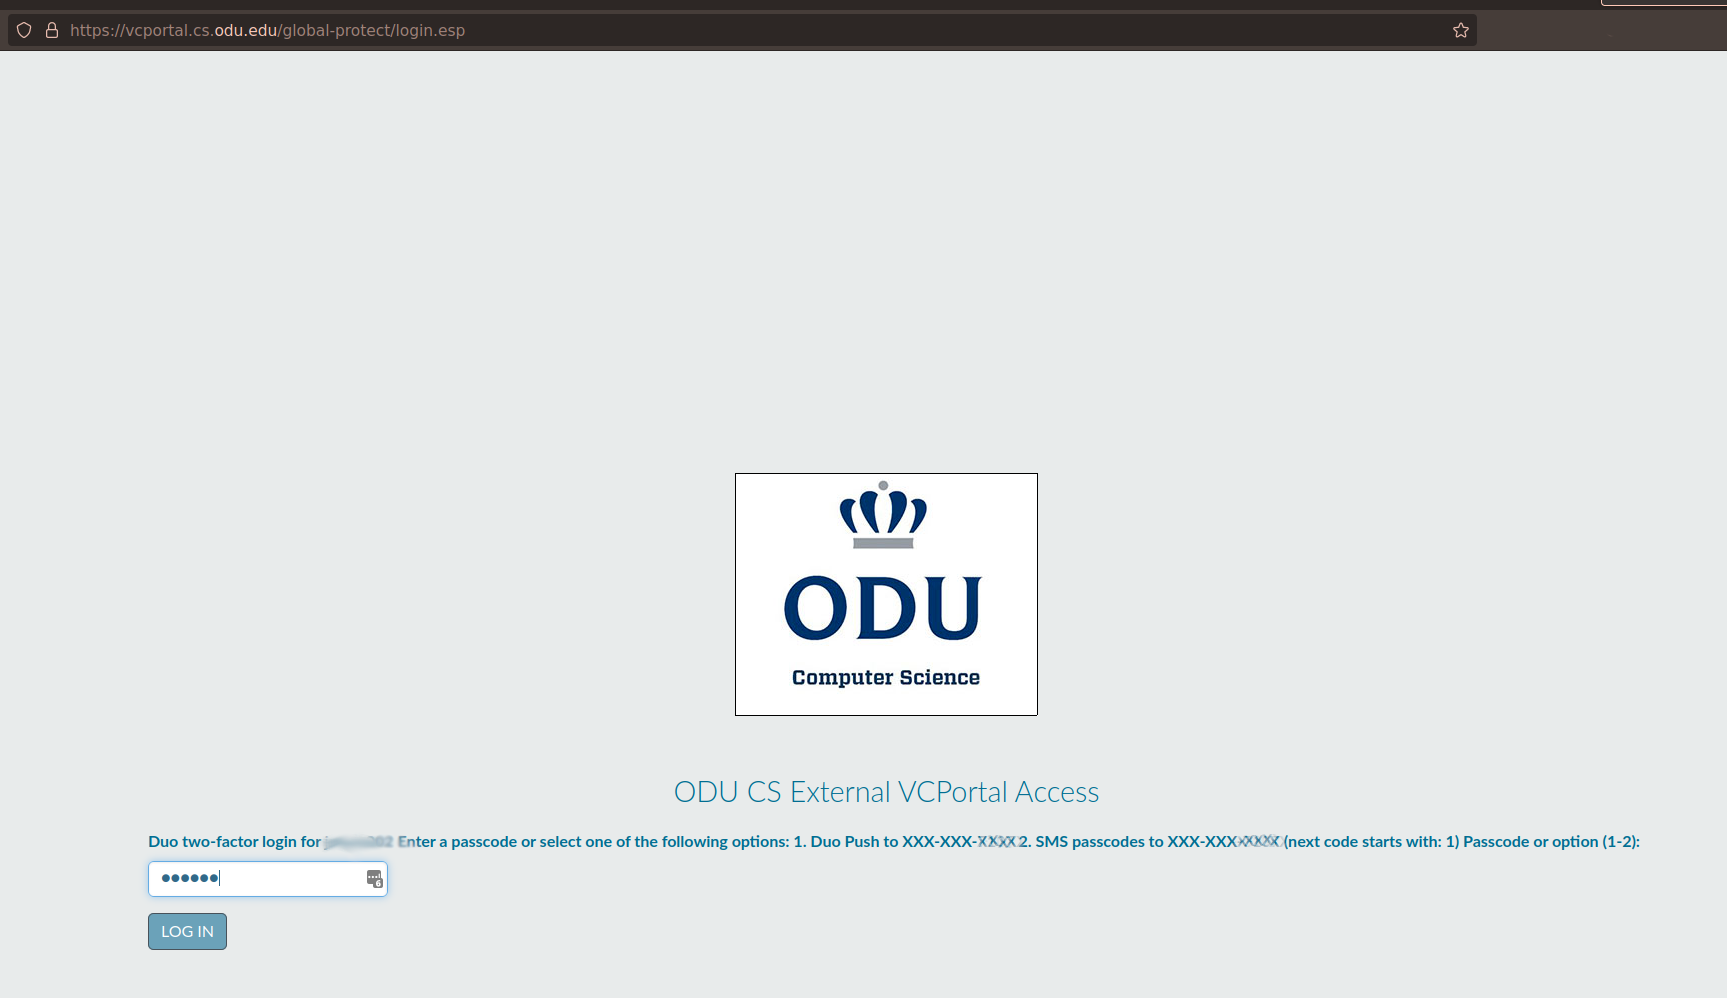
- At the next login screen, provide a pass phrase from DUO 2FA.
-
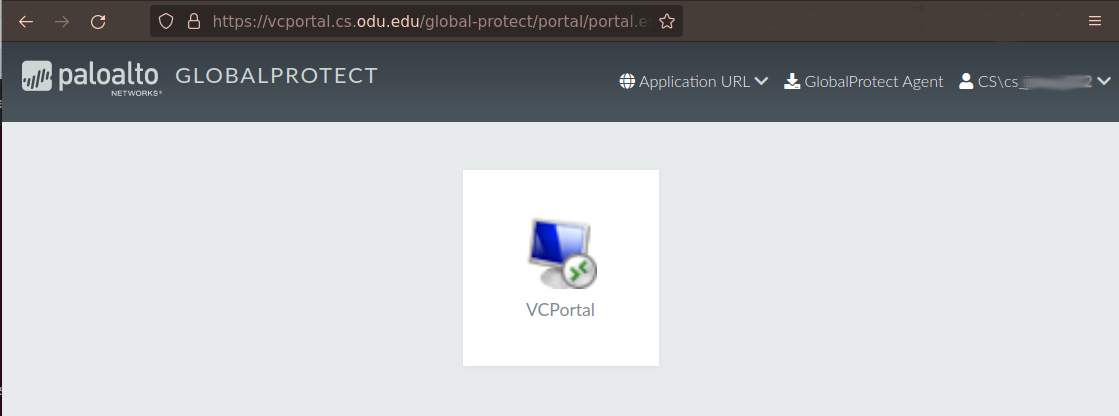
- From the PaloAlto - GlobalProtect screen, select VCPortal
-
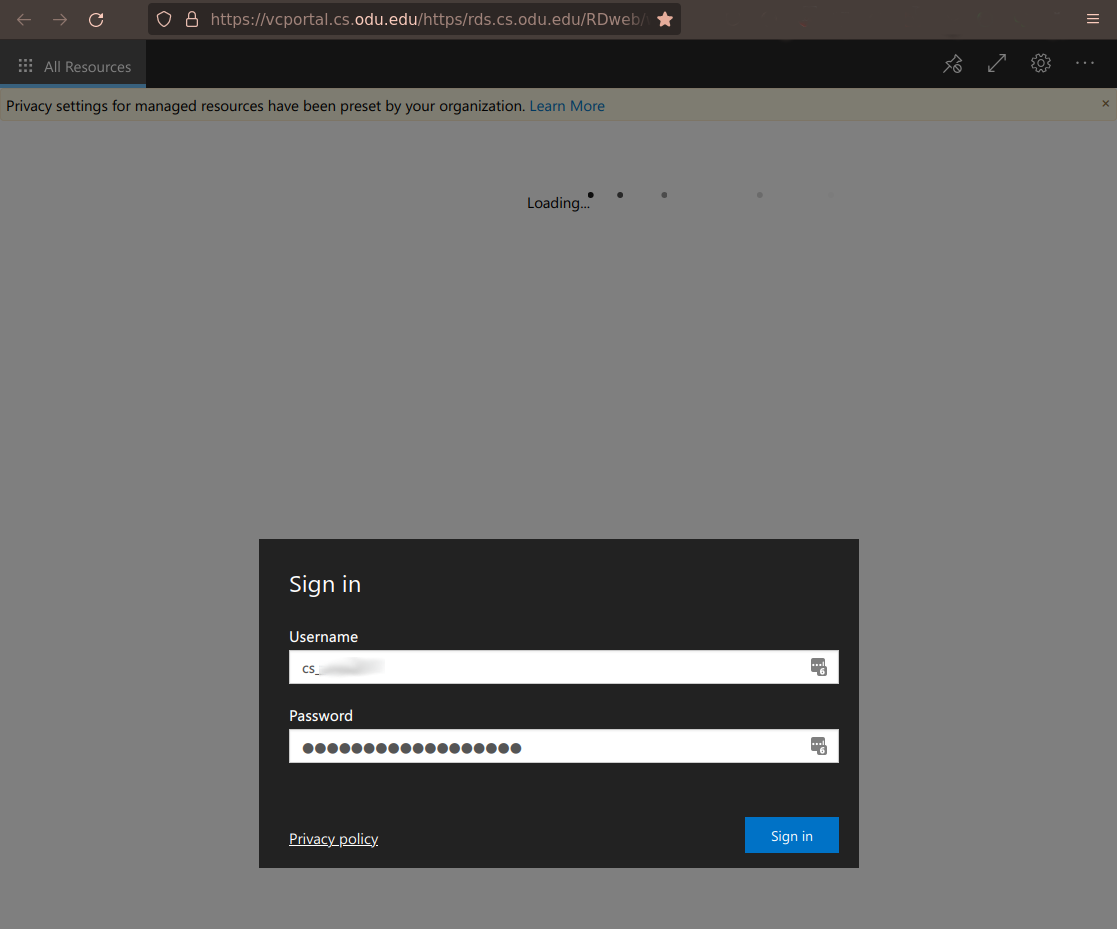
- At the final login screen, provide your CS credentials again.
-
-


Connect to the remote computer lab by clicking Any Available Machines<ref name="Machine">For Students this should be titled Student Machines, and for Staff it should be titled Faculty Machines</ref></br>

Your remote desktop connection will start in your web browser<ref name="Drive">Users can access their Documents on their personal drive, which is designated as the Z:\ Drive.</ref></br>

Remote Desktop Client
- Navigate to https://vcportal.cs.odu.edu
- At the login screen, provide your CS credentials
- Locate and navigate to the "Settings" icon at the top right-hand corner
-
- Select the "Settings" icon to open the drop-down window
-
- Select the "Download the rdp file" radio button
-
- Download the pre-configured RDP file by clicking Any available Machines<ref name="Machine"/>
-
-
- You will be prompted to save a pre-configured RDP file
-
- This file can be renamed and saved for future sessions. In the example below, the file is renamed and saved to the Downloads folder.
-
- Double clicking the icon will launch your RDP Client


Note: You must be connected to the CS VPN, to gain access. Details can be found at: (VPN Services)
-
- For Windows users, opening the RDP file will launch the native RDP client
- All MacOS users will first have to install the free Microsoft Remote Desktop 10 app from the Apple Store
- All Linux users can use Remmina as their RDP client
- When prompted for your CS credentials, you will need to prepend your username with 'CS\'
-


<references/>